
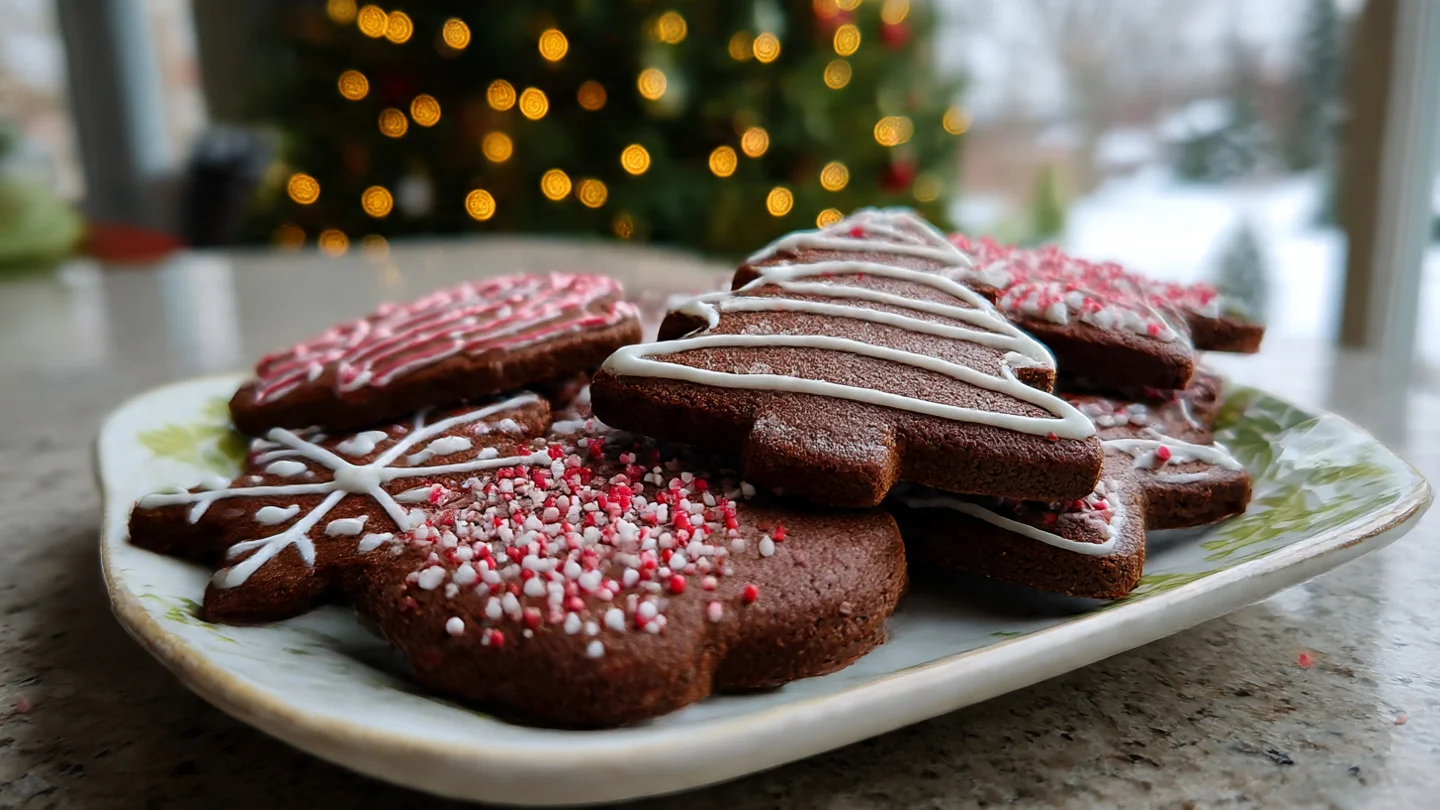
Chocolate Christmas sugar cookies aren’t exactly what I planned to make this year. Actually, I was gonna stick with regular vanilla sugar cookies (you know, the safe option), but then my sister-in-law brought over this batch of chocolate ones to Thanksgiving and I literally couldn’t stop eating them. Like, I had four. Maybe five. Who’s counting?
So here we are. Me, attempting to recreate what I think she made, because—confession time—I forgot to ask for the actual recipe and now it feels weird to text her three weeks later like “hey what were those cookies again?”
Table of Contents :

Why Chocolate Christmas Sugar Cookies Are Better Than Regular Ones (Fight Me)
Look, I love a classic sugar cookie. But chocolate sugar cookies? Different game entirely. They’re richer, more interesting, and honestly they don’t show smudges from royal icing nearly as much. Which matters when you’re decorating with kids who have zero concept of “gentle.”
My 6-year-old, Owen, helped me with these last Saturday and—wow. The kitchen looked like a chocolate explosion. But the cookies? Perfect. Well, mostly perfect. We definitely burned the first batch because I got distracted by a YouTube video about otters. Don’t ask.
The thing about these chocolate Christmas sugar cookies is they hold their shape beautifully. No spreading, no puffing up weird, just clean edges that make decorating actually fun instead of frustrating. Learned that the hard way after my chocolate chip cookie disaster of 2023. shudders
The Secret Ingredient Nobody Talks About
Here’s the thing with chocolate sugar cookies—most recipes call for melted chocolate, which is fine, but cocoa powder works SO much better. It’s easier, cheaper, and you don’t risk seizing the chocolate (yes, I’ve done that, no I don’t want to discuss it).
I use Dutch-process cocoa powder specifically. The kind in the red container at Target. Is it fancy? Nope. Does it work? Absolutely. My mom swears by Hershey’s Special Dark, but I think it makes them too bitter. We had a whole argument about this at Christmas dinner last year. She’s still wrong.
Also—and this is crucial—you need to chill the dough. I know, I know, nobody wants to wait. But last Tuesday I tried skipping this step because I was impatient, and the cookies spread into weird blob shapes. My husband called them “chocolate amoebas.” He’s not invited to help anymore.
Ingredients (AKA My Shopping List From Hell)
So I went to three different stores finding everything because apparently cream of tartar is impossible to locate? Finally found it hiding behind the cinnamon at Kroger.
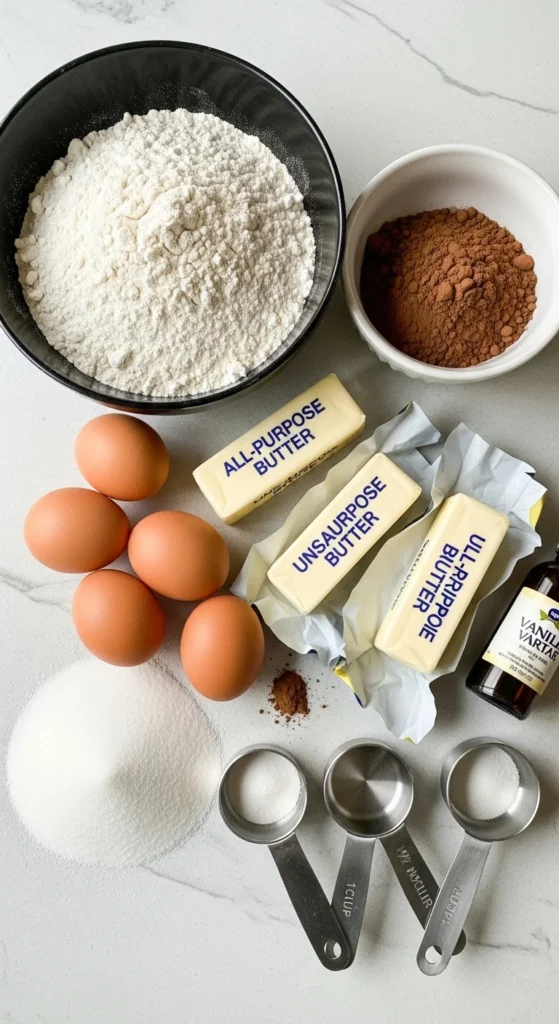
For the Chocolate Sugar Cookies:
- 3 cups all-purpose flour (just scoop it, don’t get fancy)
- 3/4 cup unsweetened cocoa powder (Dutch-process or regular, your call)
- 1 teaspoon baking powder
- 1/2 teaspoon salt
- 1 cup unsalted butter, softened (leave it out for like an hour, or microwave it for 8 seconds if you’re impatient like me)
- 1 1/2 cups granulated sugar
- 2 large eggs
- 2 teaspoons vanilla extract (the real stuff, not imitation—trust me on this one)
- 1/2 teaspoon cream of tartar (this is what keeps them from spreading!)
For the Royal Icing:
- 3 cups powdered sugar (maybe more, maybe less, eyeball it)
- 2 tablespoons meringue powder (found this at Walmart in the baking aisle after searching for 20 minutes)
- 5-6 tablespoons warm water
- Food coloring (I use Wilton gel colors because the liquid stuff makes the icing weird)
Pro tip: Don’t buy pre-sifted powdered sugar. It’s a scam. Just sift regular powdered sugar yourself and save three dollars.
How to Actually Make These Without Losing Your Mind
Step 1: Mix your dry ingredients—flour, cocoa powder, baking powder, salt, and cream of tartar—in a medium bowl. Whisk it around until it looks uniform. I usually do this part while the butter is softening because I’m chronically impatient.
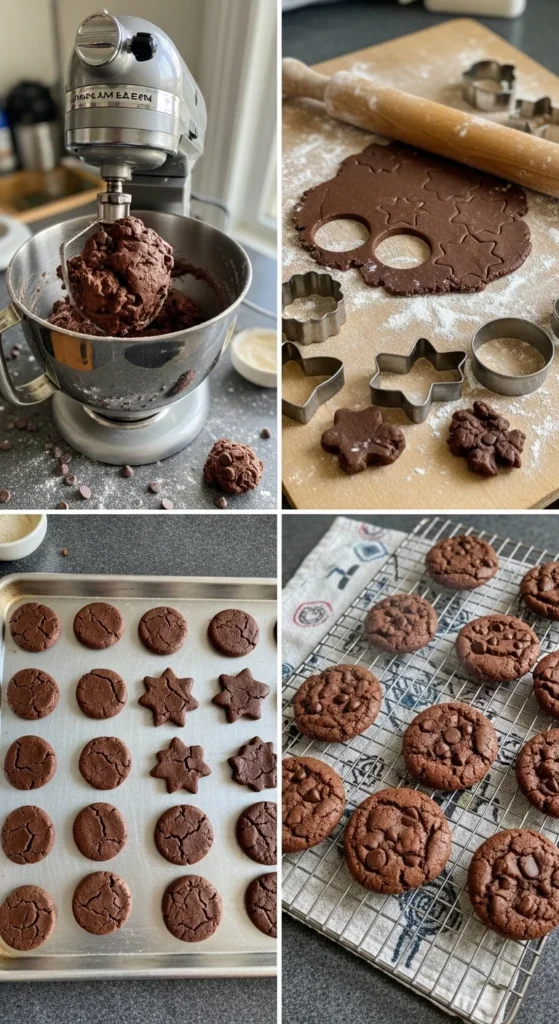
Step 2: In your stand mixer (or with a hand mixer if you’re feeling ambitious), beat the butter and sugar together until it’s fluffy. Like, really fluffy. Takes about 3-4 minutes. This is important for getting the right texture, so don’t rush it. Says the woman who always rushes it.
Step 3: Add the eggs one at a time, then the vanilla. Beat until combined. The mixture will look kinda weird and grainy at this stage. That’s totally normal, don’t panic like I did the first time.
Step 4: Slowly add the dry ingredients to the wet mixture. I do this in three parts because dumping it all at once creates a flour explosion. (Again, learned the hard way. Found cocoa powder in my hair three days later.)
Step 5: Once the dough comes together, divide it in half and flatten each half into a disk. Wrap them in plastic wrap and refrigerate for at least 2 hours. I usually do this overnight because I have the planning skills of a normal human being occasionally.
Step 6: Preheat your oven to 350°F. This is when I inevitably realize I forgot to preheat earlier and have to wait another 15 minutes while staring at chilled dough.
Step 7: Roll out your dough on a lightly floured surface to about 1/4 inch thick. Any thinner and they’ll be crispy (which some people love—my neighbor Sarah swears by thin chocolate sugar cookies). Any thicker and they’re cake-like.
Step 8: Cut out shapes with cookie cutters. I have an absurd collection of Christmas cookie cutters. We’re talking snowflakes, trees, reindeer, snowmen, and for some reason a cookie cutter shaped like a pickle. Don’t ask, it was a gift.
Step 9: Place cookies on a parchment-lined baking sheet about 2 inches apart. They don’t spread much, but better safe than sorry.
Step 10: Bake for 8-10 minutes. They’ll still look slightly soft in the center when you take them out—that’s good! They’ll firm up as they cool. If you wait until they look “done,” you’ve overbaked them. Classic mistake.
Step 11: Let them cool on the baking sheet for 5 minutes, then transfer to a wire rack. And now we wait. Again. Cookies need to be completely cool before decorating or the icing will melt into a sad puddle.
The Royal Icing Situation
Okay, so royal icing has a reputation for being finicky. It kinda deserves it? But it’s also not THAT hard once you get the hang of it.
Beat the powdered sugar, meringue powder, and water together until it forms stiff peaks. This takes like 7-10 minutes with a stand mixer. For outlining, you want it thick—like toothpaste consistency. For flooding (filling in the cookie), thin it out with a bit more water until it’s more like honey.
I usually divide my icing into separate bowls and add food coloring to each. Red and green are obvious choices for Christmas, but I also love white and gold. Makes them look fancier than they actually are.
Here’s something nobody tells you: let the outline dry for like 15 minutes before flooding the inside. Otherwise everything bleeds together and your beautiful snowflake looks like a blob. Speaking from experience here.
Tips I Wish Someone Had Told Me Sooner
- Make extra dough. Someone (me) will inevitably eat raw cookie dough.
- Don’t skip the cream of tartar—it’s what makes these chocolate sugar cookies hold their shape perfectly
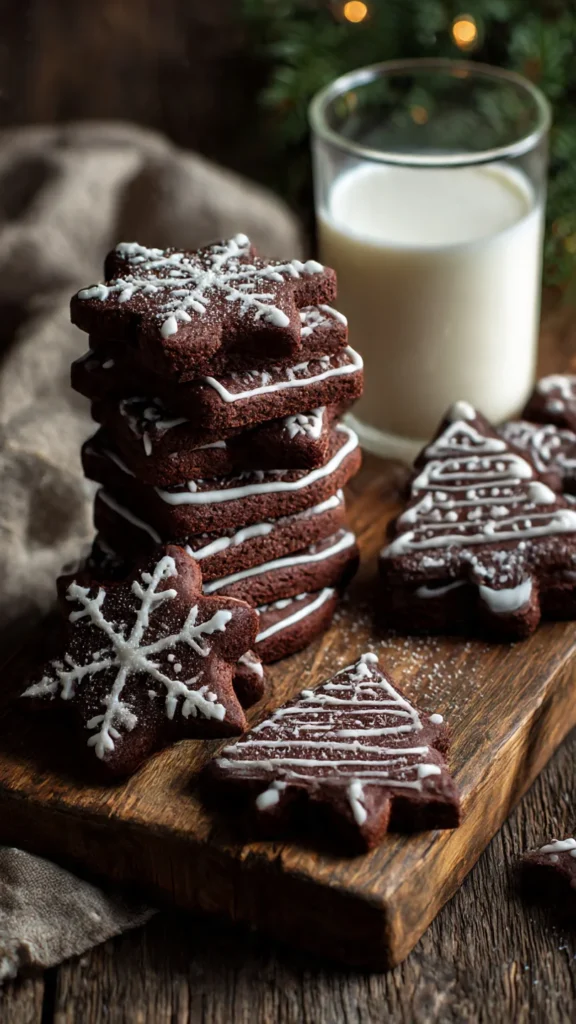
- Royal icing dries hard, which means these cookies stack beautifully and make great gifts
- If your icing is too thick, add water literally one drop at a time. Too thin? More powdered sugar.
- These freeze amazingly well (both before and after baking)
- Owen likes his plain with just powdered sugar on top, which I thought was weird until I tried it—actually really good
The chocolate flavor is deep without being overwhelming. They’re not fudgy like brownies, more like… elegant chocolate, if that makes sense? They pair perfectly with coffee, hot chocolate, or (my personal favorite) a glass of cold milk at 10 PM when everyone else is asleep.
When Things Go Wrong (Because They Will)
Burned the bottoms? Scrape off the burnt parts with a cheese grater. Nobody will know.
Dough too crumbly? Add a tablespoon of milk or water.
Dough too sticky? Add more flour, a tablespoon at a time.
Royal icing is rock hard? You added too much meringue powder. Start over. I know, it sucks.
Cookies spreading anyway? Your butter was too warm, or you didn’t chill the dough long enough. Happens to everyone.
Look, I’ve made chocolate Christmas sugar cookies approximately seven times in the past two weeks (don’t judge my life choices), and only the last two batches were actually Instagram-worthy. The others were delicious chaos. And honestly? The chaos ones got eaten just as fast.
My brother claimed these were better than the fancy bakery cookies his girlfriend bought for $40 a dozen. I’m choosing to believe him even though he might have just been being nice.
So yeah. Make these chocolate Christmas sugar cookies. Decorate them with royal icing or don’t (the powdered sugar option is legit). Burn a batch or two. Let your kids help even though it’ll be messy. That’s kind of the whole point of Christmas baking anyway, right?
Let me know how yours turn out! Seriously, drop a comment because I’m always looking for new decorating ideas and I’m running out of creativity over here.
Happy baking! (and may your first batch not burn like mine did)
Chocolate Christmas Sugar Cookies with Royal Icing
Rich chocolate Christmas sugar cookies with perfect edges that don't spread, decorated with royal icing. Easy recipe with Dutch-process cocoa powder for deep chocolate flavor.
Ingredients
- 3 cups all-purpose flour
- 3/4 cup unsweetened cocoa powder
- 1 teaspoon baking powder
- 1/2 teaspoon salt
- 1/2 teaspoon cream of tartar
- 1 cup unsalted butter, softened
- 1 1/2 cups granulated sugar
- 2 large eggs
- 2 teaspoons vanilla extract
- 3 cups powdered sugar
- 2 tablespoons meringue powder
- 5-6 tablespoons warm water
- Food coloring
Instructions
- Step 1In a medium bowl, whisk together flour, cocoa powder, baking powder, salt, and cream of tartar until combined.
- Step 2In a stand mixer, beat softened butter and sugar together for 3-4 minutes until light and fluffy.
- Step 3Add eggs one at a time to the butter mixture, then add vanilla extract. Beat until combined.
- Step 4Gradually add dry ingredients to wet mixture in three parts, mixing until dough comes together.
- Step 5Divide dough in half, flatten into disks, wrap in plastic wrap, and refrigerate for at least 2 hours or overnight.
- Step 6Preheat oven to 350°F (175°C) and line baking sheets with parchment paper.
- Step 7Roll out chilled dough on floured surface to 1/4 inch thickness. Cut out shapes with Christmas cookie cutters.
- Step 8Place cookies 2 inches apart on prepared baking sheets. Bake for 8-10 minutes until edges are set but centers still look slightly soft.
- Step 9Cool cookies on baking sheet for 5 minutes, then transfer to wire rack to cool completely before decorating.
- Step 10Beat powdered sugar, meringue powder, and warm water for 7-10 minutes until stiff peaks form. Divide and color as desired.
- Step 11Outline cookies with thick royal icing, let dry 15 minutes, then flood with thinned icing. Allow to dry completely before stacking.