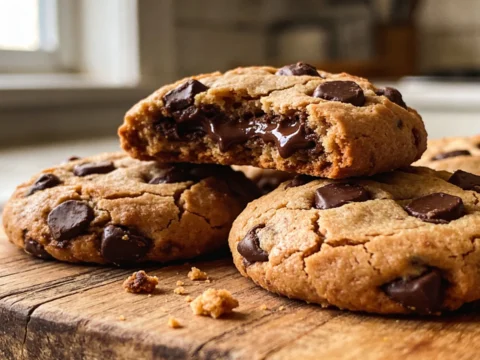
I’ve been making this butter cookies recipe for nearly a decade now, and it still amazes me how something with just four simple ingredients can create such perfect little bites of happiness. The first time I tried these, I was skeptical – how good could a cookie be without vanilla, chocolate chips, or any fancy add-ins? Turns out, when butter is the star of the show, you don’t need much else. These cookies literally melt in your mouth, leaving behind nothing but pure, buttery bliss.
Table of Contents :
Why These Simple Butter Cookies Will Become Your Go-To
When my grandmother passed away, I inherited her recipe box – a treasure trove of handwritten recipe cards, many with splatter marks and notes in the margins. This butter cookie recipe was the most worn card in the collection, with “family favorite” scrawled across the top. I remember watching her make these cookies, her hands working the dough with the confidence that comes from decades of experience.
My first attempt at recreating her cookies was… well, a disaster. I used salted butter (rookie mistake) and rushed the chilling process because I was impatient. The result? Cookies that spread into one giant, overly salty puddle on the baking sheet. It took me three more tries to figure out that her “chill until firm” note meant AT LEAST two hours, not the twenty minutes my impatient self was willing to wait.
What makes these cookies special isn’t some secret ingredient or complicated technique. It’s the opposite – the simplicity forces you to get every step right. There’s nowhere to hide mistakes when you’re working with just butter, sugar, flour and a pinch of salt. But when you nail it? Pure magic. Unlike those overly sweet, artificially flavored store-bought versions, these taste like what butter cookies are supposed to taste like: actual butter.
Ingredients for butter cookies recipe
The beauty of this butter cookies recipe lies in its simplicity. With just four ingredients, the quality of each one matters tremendously. This is not the time to use that bargain butter that’s been hiding in the back of your freezer for months. When butter is literally the first word in the recipe name, it deserves your attention.
I’ve experimented with different brands and types over the years, and while I’ll share my preferences, don’t stress if you can’t find exactly what I use. The main thing is to understand what each ingredient contributes – that way you can make smart substitutions if needed.
Unsalted Butter (1 cup/2 sticks, softened to room temperature)
This is the foundation of your cookies, so splurge on the good stuff if you can. European-style butter with higher fat content makes a noticeable difference – I like Kerrygold or Plugrá when I’m feeling fancy. Take it out of the fridge AT LEAST an hour before baking. And please, for the love of cookies, use unsalted. I learned this the hard way with that first salty disaster. Room temperature means you can easily press your finger into it, but it shouldn’t look shiny or melted at all.
Granulated Sugar (2/3 cup)
Regular white sugar works perfectly here. I’ve tried using superfine sugar thinking it would dissolve better, but honestly couldn’t tell the difference in the final cookie. What DOES matter is not increasing the amount – these aren’t meant to be overly sweet cookies. The sugar is here to provide structure and the perfect amount of sweetness that complements rather than overpowers the butter flavor.
All-Purpose Flour (2 cups)
Nothing fancy needed – just regular all-purpose flour. I’ve tried cake flour thinking it would make them more tender, but the texture actually became too crumbly. If you need to make these gluten-free, a 1:1 baking flour blend works surprisingly well. Just avoid measuring your flour by scooping directly with the cup – that packs too much flour in. Instead, spoon the flour into your measuring cup and level it off with a knife.
Salt (1/4 teaspoon)
Yes, we’re using unsalted butter AND adding salt. This gives us complete control over the salt level. I use fine sea salt, but table salt works perfectly fine too. Don’t skip this – it’s tiny but mighty in enhancing the butter flavor. Without it, the cookies taste flat and one-dimensional. Trust me, I accidentally left it out once and immediately knew something was missing.
Instructions for butter cookies recipe
Let me be upfront – while this butter cookies recipe is simple, it does require patience. The actual hands-on work takes maybe 15 minutes, but there’s chilling time that you absolutely cannot skip. I’ve tried. Multiple times. It always ends badly. So plan for about 3 hours from start to finish, though most of that is just waiting for the dough to chill.
The good news is that this dough can be made ahead and kept in the refrigerator for up to 3 days or frozen for a month. I actually think the flavor develops better when the dough rests overnight, so I often make it the day before I plan to bake. Now, let’s break this down step by step…
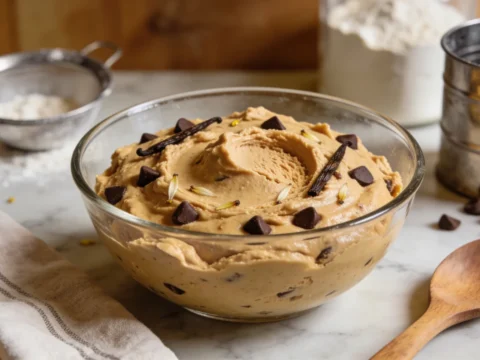
STEP 1: Cream the butter and sugar until light and fluffy.
Put your softened butter and sugar in a large bowl and beat with an electric mixer for 3-4 minutes. Yes, that long! Most people stop way too soon. You want the mixture to be noticeably lighter in color and texture – almost fluffy looking. The sugar crystals create tiny air pockets in the butter that are crucial for that melt-in-your-mouth texture. I once rushed this step and ended up with dense, hard cookies. Not ideal when you’re trying to impress your mother-in-law. Scrape down the sides of the bowl at least once during mixing.
STEP 2: Add the flour and salt gradually.
Add the flour and salt to the butter mixture about a half cup at a time, mixing on low speed just until combined. Over-mixing at this stage will develop the gluten and make your cookies tough instead of tender. The dough will look crumbly at first – that’s normal! Keep mixing gently and it will come together. If it seems too dry and won’t come together after about a minute of mixing, you can add 1-2 teaspoons of water. But be really conservative – too much moisture will cause spreading.
STEP 3: Form the dough into a log and chill.
Turn the dough out onto a sheet of parchment paper or plastic wrap. With lightly floured hands, shape it into a log about 2 inches in diameter. Try to make it as round and even as possible – this affects how your final cookies look. Roll it up in the parchment, twist the ends to seal, and refrigerate for at LEAST 2 hours. I prefer overnight. This chilling step is non-negotiable – it firms up the butter, which prevents spreading, and allows the flour to fully hydrate. The first time I made these, I chilled for just 30 minutes and ended up with one giant cookie puddle. Learn from my mistakes!
STEP 4: Slice and bake.
Preheat your oven to 325°F (not 350°F – the lower temperature helps these butter-rich cookies bake evenly without browning too quickly). Line baking sheets with parchment paper. Take the chilled dough log out of the refrigerator and unwrap it. Using a sharp knife, slice the dough into 1/4-inch thick rounds. If the dough crumbles when slicing, let it sit for about 5 minutes to soften slightly. Place the cookies about 1 inch apart on the baking sheets – they don’t spread much if properly chilled.
STEP 5: Bake until just set but not browned.
Bake for 12-15 minutes. This is where people often go wrong – these cookies should NOT brown much at all. They’re done when they’re set around the edges but still look slightly soft in the center. They might look a bit underdone, but they’ll firm up as they cool. My oven runs hot, so I start checking at 10 minutes. If you wait until they’re golden brown, they’ll be overdone and lose that melt-in-your-mouth quality. You want them mostly pale with just the barest hint of color around the edges.
STEP 6: Cool completely before enjoying.
Let the cookies cool on the baking sheet for 5 minutes (they’re very delicate when hot), then transfer to a wire rack to cool completely. These cookies actually improve in texture as they cool – the butter firms up and creates that distinctive sandy, melt-away texture that makes butter cookies so irresistible. Resist the urge to try one immediately unless you want a lap full of cookie crumbs. I speak from experience here, having burned my fingers and made a mess more than once in my impatience.
Tips & Variations butter cookies recipe
These classic butter cookies are perfect in their simplicity, but there are ways to customize them once you’ve mastered the basic recipe. For a festive touch, you can press a piece of candied cherry into the center before baking. Or roll the edges of the dough log in coarse sugar before slicing for a sparkly, crunchy edge. For chocolate lovers, try dipping half of each baked and cooled cookie in melted dark chocolate.
Store these in an airtight container at room temperature for up to a week, though they rarely last that long in my house. The texture actually improves after a day, as the flavors meld and the texture settles into that perfect shortbread-like consistency. Just note that these cookies absorb odors easily because of their high butter content, so store them away from strong-smelling foods.
If your cookies spread too much despite chilling, your butter was probably too soft to begin with. Pop the sliced cookies back in the refrigerator for 15 minutes before baking next time. And if your photos don’t look like those perfect bakery-window butter cookies, don’t worry! Homemade ones often have slightly irregular edges or imperfect shapes – that’s how people know they’re real.
Final Thoughts butter cookies recipe
This butter cookies recipe has saved me countless times – from last-minute holiday gatherings to unexpected visitors to those nights when I just need something sweet but don’t have much in the pantry. Their simplicity is deceptive; there’s a real art to making something so basic taste so extraordinary.
If you try these cookies, please let me know how they turn out for you. Did you keep them classic or add your own twist? I’m always collecting new variations to try, and honestly, I’m curious if your family fights over them as much as mine does. The ultimate compliment I received was when my picky brother-in-law ate seven in one sitting – then asked if he could take some home. For store-bought cookie devotee, that’s practically a marriage proposal.
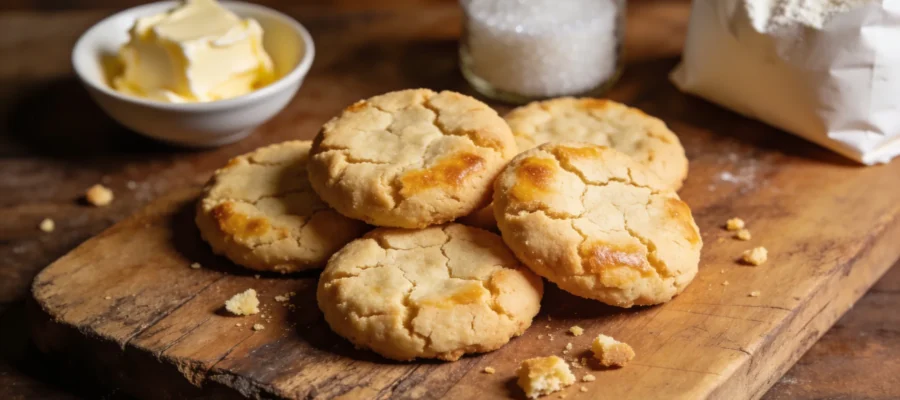
Classic Butter Cookies
These classic butter cookies recipe features only four ingredients and creates perfect little bites of happiness that melt in your mouth.