Granola chia pudding is honestly the only reason I’ve been able to eat breakfast consistently for the past two years. I’m not a morning person—at all—and the thought of actually cooking something before 9 AM makes me want to crawl back under the covers. But these little jars of overnight magic have completely changed my relationship with breakfast. They’re ridiculously simple, impossibly customizable, and somehow manage to feel both healthy and like a treat at the same time.
Table of Contents :
How I Became a Breakfast Person (Finally)
For years, I’d skip breakfast altogether or grab something terrible on the way to work. My partner would lecture me about “the most important meal of the day” while I’d nod along, knowing full well I wasn’t about to start setting my alarm 30 minutes earlier just to scramble some eggs.
Then during a particularly stressful month when I was desperately trying to get more organized, I stumbled across the concept of overnight chia pudding. The first batch I made was a complete disaster—I used way too few chia seeds and ended up with what can only be described as slightly thickened milk with crunchy bits floating in it. The second attempt wasn’t much better because I used a weird sweetener that gave the whole thing a bitter aftertaste. But by the third try, adding my favorite granola and some properly measured ingredients, I created something that actually made me look forward to morning.
What I love most about granola chia pudding is that it requires zero cooking skills. You literally stir things together, put them in the fridge, and walk away. And it actually improves if you make it ahead of time, which feels like cheating the breakfast system somehow. I’ve served these to overnight guests who thought I was some kind of morning chef, when in reality I had spent maybe three minutes assembling them the night before while watching Netflix.
Ingredients for granola chia pudding
The beauty of this recipe is that while the base stays the same, you can change almost everything else depending on your mood or what’s in your pantry. I’ve made this with every milk alternative under the sun and a ridiculous variety of toppings. The only non-negotiables are the chia seeds themselves and some kind of liquid—everything else is just playing around with flavors and textures.
I usually prep 3-4 jars on Sunday night, which keeps me covered until at least Thursday. The ingredients below will make two servings, but it scales up beautifully—just maintain the same ratios and you’re golden.
Chia Seeds (4 tablespoons)
These little powerhouses are what create the pudding-like consistency through their weird gel-forming magic. I buy mine in bulk because it’s way cheaper that way. Don’t substitute flax seeds here—I tried once and ended up with a slippery, slimy mess that had the texture of something I won’t describe on a family-friendly blog. Chia seeds have almost no flavor, which makes them the perfect canvas.
Milk (1 cup)
Any milk works here—dairy or plant-based. I usually use oat milk because it’s naturally sweet and creamy, but almond, coconut, or regular dairy milk all work perfectly. Coconut milk (the kind in cartons, not cans) makes an especially tropical-tasting version. If you use unsweetened milk, you might want to add a touch more sweetener to balance things out.
Vanilla Extract (1/2 teaspoon)
A little vanilla makes everything taste better and more dessert-like, which tricks my brain into thinking breakfast is a treat. I’ve tried almond extract occasionally for a marzipan vibe, and orange extract works beautifully if you’re doing a citrusy version. The real stuff makes a noticeable difference, but the imitation works in a pinch.
Maple Syrup (1 tablespoon)
Just enough sweetness without going overboard. Honey works great too, though it changes the flavor profile significantly. I’ve used agave and even a teaspoon of regular sugar when I was out of other options. This is totally adjustable to your sweetness preference—start with less, you can always stir in more before eating if needed.
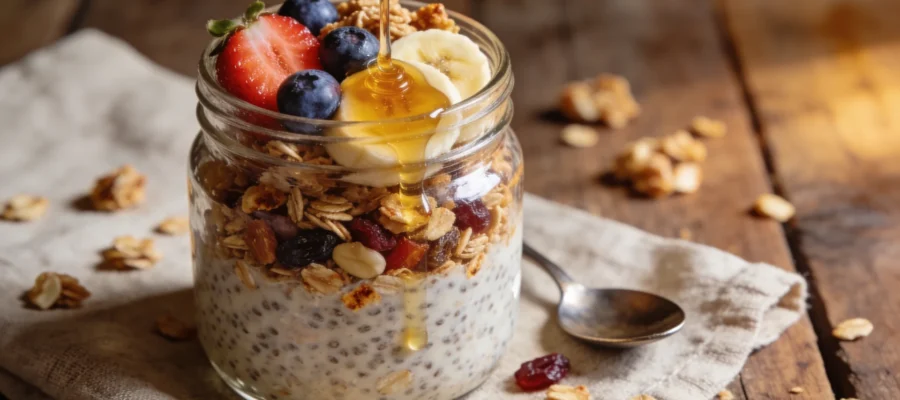
Granola (1/3 cup per serving)
The critical element that transforms chia pudding from “healthy goop” to “actual delicious breakfast.” I’ve used store-bought and homemade with equal success. My personal favorite is a maple pecan granola that adds the perfect crunch. The granola doesn’t go into the overnight mix—it gets added just before eating to maintain the textural contrast between creamy pudding and crunchy granola.
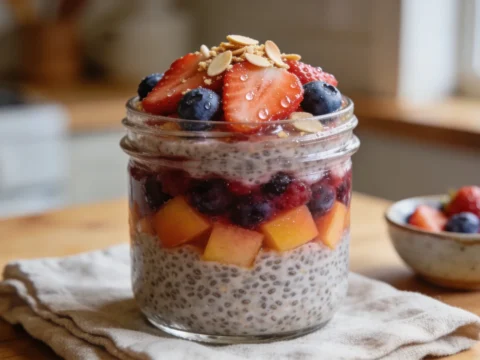
Fresh Fruit (1/4 cup per serving)
Berries are my go-to because they require zero prep—just rinse and toss them on. In summer, sliced peaches are incredible. Bananas work year-round and add extra creaminess. Frozen fruit works too, but let it thaw in the fridge overnight or you’ll end up with an icy pudding situation. This is where you can really play with seasonal options.
Mason Jars or Containers (8-12 oz)
I use 12-oz mason jars because they’re just the right size and make me feel like I’m one of those organized Instagram people. Any container with a lid works though—I’ve used emptied yogurt containers in desperate times. The key is having enough room to add your toppings without everything spilling everywhere.
Instructions for granola chia pudding
The process is ridiculously simple, but there are a few tricks I’ve learned from making this approximately 500 times over the past couple years. The most important thing is getting the ratio of chia to liquid right—too little chia and you’ll have soup, too much and you’ll have something with the texture of cement that requires serious jaw strength to consume.
The beauty of this breakfast is that it requires about three minutes of actual work the night before, and zero thinking in the morning when my brain is still offline. You can even grab it and take it to work if you’re running late, which happens to me more often than I’d like to admit.
STEP 1: Mix your liquid base.
In a bowl or measuring cup, combine the milk, vanilla extract, and maple syrup. Give it a good stir to make sure the sweetener is fully incorporated. I learned the hard way that if you skip this step and add everything directly to the jars, you end up with pockets of intense sweetness and other areas that taste like nothing. A quick pre-mix solves this problem entirely.
STEP 2: Add the chia seeds and initial stir.
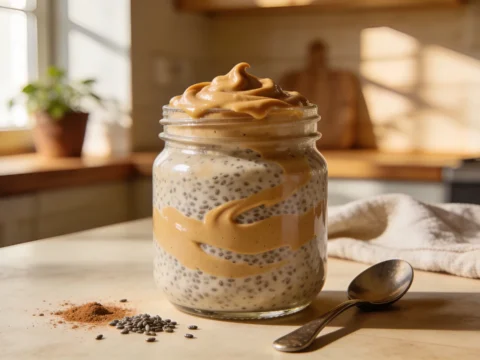
Pour the chia seeds into your liquid mixture and whisk immediately. The seeds start absorbing liquid almost instantly, so you want to break up any clumps before they form. This is the most active part of the entire recipe—whisk energetically for about 30 seconds until the seeds are well distributed. If you’re feeling fancy, you can add a pinch of cinnamon, cardamom, or even a little espresso powder at this stage.
STEP 3: Transfer to jars and wait.
Pour the mixture into your containers. Fill them about 2/3 full to leave room for toppings later. Here’s the critical part I messed up multiple times at first: wait about 10 minutes, then stir again. Chia seeds love to clump together, and this second stir prevents the dreaded “chia iceberg”—a solid mass floating in liquid that no amount of morning poking will fix. I sometimes set a timer because I’ll absolutely forget otherwise.
STEP 4: Final stir and refrigerate.
After that 10-minute rest, give each container one more quick stir, making sure to scrape the bottom where seeds love to settle. Put the lids on and refrigerate overnight, or at least 4 hours. I’ve tried shortcuts here—3 hours isn’t enough. The pudding will be edible but not properly set, and you’ll miss that perfect creamy texture. Patience actually matters here, which is annoying but true.
STEP 5: Morning assembly.
When you’re ready to eat, open your jar and check the consistency. It should be pudding-like and spoonable, not runny. If it seems too thick (which can happen if you leave it for more than 24 hours), add a splash of milk and stir. Now top with your granola and fresh fruit. I like to add the granola right before eating because it stays crunchy that way. If you’re taking this to go, pack the granola separately in a small container or bag.
Tips & Variations for granola chia pudding
These puddings keep beautifully in the fridge for up to 4 days, which makes them perfect for batch prepping on Sunday. The texture actually improves on day two as the chia seeds continue to soften slightly. If you find yourself with a pudding that’s too thick, just stir in a splash of milk before adding toppings.
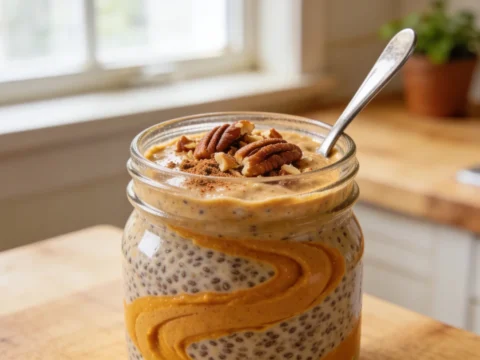
For a more dessert-like version, add a tablespoon of cocoa powder to the liquid base and use chocolate granola on top—it tastes like a much healthier version of chocolate pudding. For a tropical twist, use coconut milk as your base and top with mango and coconut flakes. I’ve even done a fall-inspired version with a dash of pumpkin pie spice in the base and pumpkin granola on top.
If your pudding has uneven spots or a few clumps despite your best stirring efforts, don’t stress—it happens to the best of us and won’t affect the taste. Just give it a good stir before adding toppings and no one will ever know. Including you, after the first delicious spoonful.
Final Thoughts on granola chia pudding
Look, I’m not claiming this is some revolutionary culinary achievement—it’s literally seeds soaked in milk with some crunchy bits on top. But sometimes the simplest things make the biggest difference in daily life. This breakfast has saved me from countless drive-thru disasters and hangry morning meltdowns, and for that alone, it deserves a place of honor in my recipe collection.
If you try making your own granola chia pudding, let me know what toppings you use. I’m always looking for new combinations to keep breakfast interesting! And if you mess it up the first time like I did, just try again with more seeds—we’re all just figuring this out as we go.
Granola Chia Pudding
Granola chia pudding is a make-ahead breakfast bowl that is simple, customizable, and feels indulgent while being healthy.