
Last summer, I was standing in my kitchen with eight ears of corn I’d bought on impulse at the farmer’s market, wondering what on earth I was going to do with all of them. My usual boiling method felt boring, and honestly, heating up a big pot of water when it’s already 85 degrees outside? No thank you. That’s when I decided to fire up the grill and see what would happen.
Best. Decision. Ever.
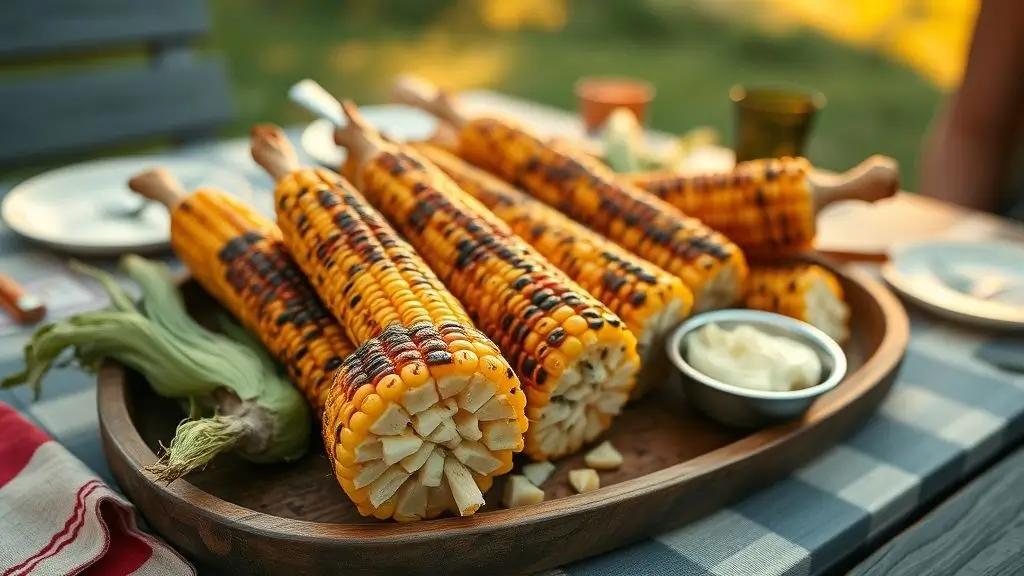
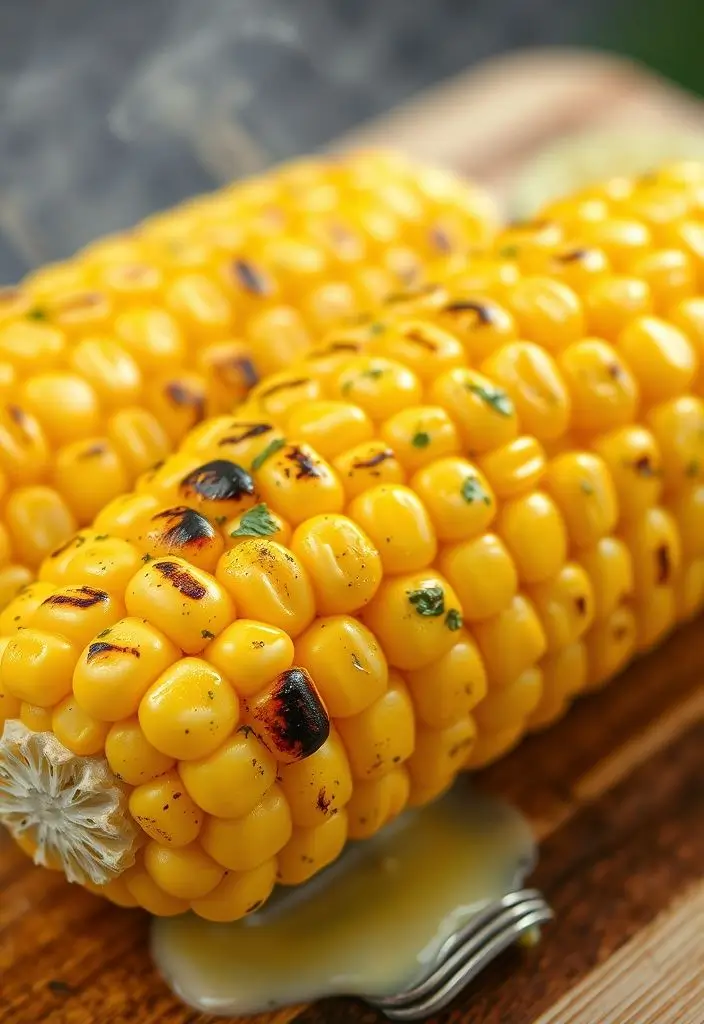
Now I can’t imagine making corn any other way. There’s something magical about what happens when corn meets direct heat – those kernels get this incredible caramelized sweetness, with little charred spots that add the perfect smoky flavor. And when you slather it with garlic herb butter while it’s still hot? Pure summer perfection.
Table of Contents :
Why You’ll Love This Grilled Corn Recipe
This grilled corn on the cob isn’t just another side dish – it’s the kind of food that makes people stop mid-conversation and ask, “How did you make this?” The secret isn’t complicated, but it makes all the difference.
The char is everything. Unlike boiled corn that can taste watery, grilled corn concentrates those natural sugars. You get caramelization on the outside while keeping the inside tender and juicy. It’s like the difference between steamed vegetables and roasted ones – same ingredient, completely different experience.
That garlic herb butter though. I’ve tried store-bought flavored butters, and they’re fine, but making your own takes maybe three minutes and tastes infinitely better. Fresh herbs, real garlic, a squeeze of lemon – it’s the kind of compound butter that elevates everything it touches.
Zero kitchen heat required. During those sweltering summer months when turning on the stove feels like punishment, grilling corn keeps all the heat outside where it belongs.
What You’ll Need
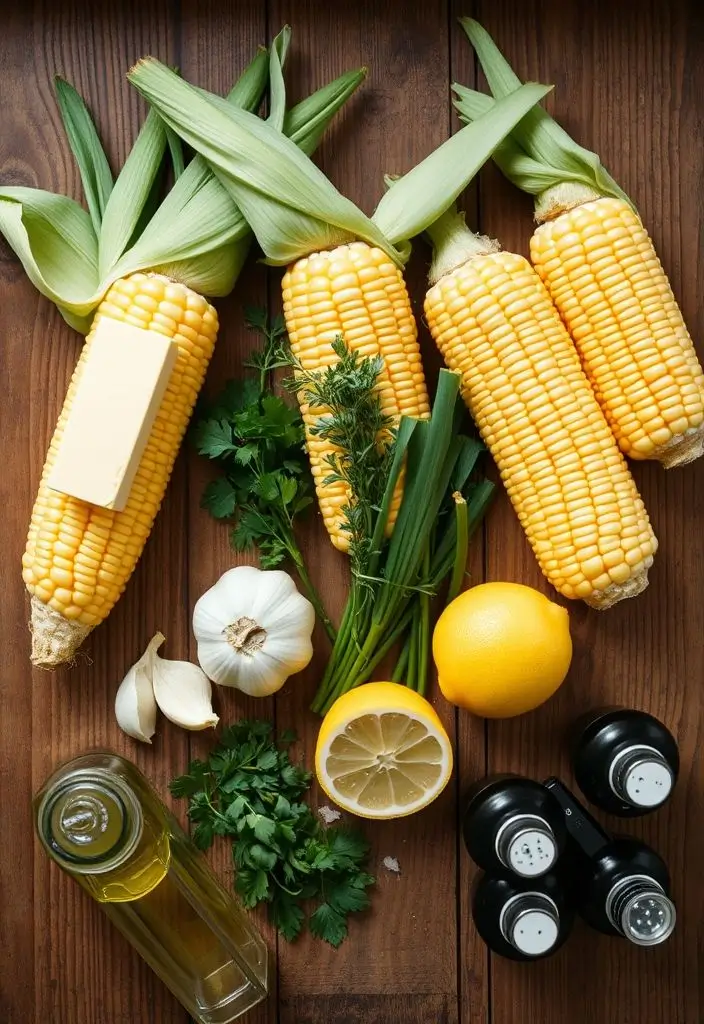
For the Corn:
- 6-8 ears of fresh corn, husks removed
- 2 tablespoons olive oil or melted butter
- Salt and black pepper to taste
For the Garlic Herb Butter:
- 1/2 cup (1 stick) unsalted butter, softened
- 3-4 garlic cloves, minced (don’t skimp here)
- 2 tablespoons fresh parsley, finely chopped
- 1 tablespoon fresh chives, chopped
- 1 teaspoon fresh thyme leaves
- 1/2 teaspoon salt
- 1/4 teaspoon black pepper
- 1 tablespoon fresh lemon juice
- Optional: pinch of red pepper flakes for heat
Ingredient Tips from My Kitchen
Corn selection matters. Look for ears with bright green husks that feel heavy for their size. The silk should look fresh, not dried out. If you can, buy it the day you plan to grill it – corn starts converting its sugars to starch the moment it’s picked.
Fresh herbs vs. dried. I’m usually pretty flexible about substitutions, but please use fresh herbs here. Dried herbs on grilled corn just taste dusty and sad. If you can’t find all three herbs, just use what you have – even all parsley works great.
Butter temperature trick. Your butter needs to be soft enough to mix easily but not melted. If you forgot to take it out early, cut it into small pieces and let it sit at room temperature for about 20 minutes. In a pinch, you can soften it in the microwave for 10-15 seconds, but watch it carefully.
Let’s Make It
Step 1: Prep Your Garlic Herb Butter
Start with this because compound butter is always better when it has time to meld together. In a medium bowl, mash your softened butter with a fork until it’s smooth and creamy.
Add the minced garlic – and here’s where I always go heavy-handed because I’m a garlic person. If you’re not sure how much you like, start with two cloves and work your way up. Mix in the parsley, chives, and thyme, followed by the salt, pepper, and lemon juice.
Pro tip: Taste it now. Yes, with a clean spoon. This is your chance to adjust – more salt, more herbs, more garlic. The flavors will intensify slightly when it hits the hot corn, but you want it to taste good right now.
Transfer the butter mixture to a piece of parchment paper or plastic wrap and roll it into a log shape. This isn’t necessary for function, but it makes it easier to slice and looks pretty if you’re serving guests. Pop it in the fridge while you prep the corn.
Step 2: Prep the Corn
Remove all the husks and silk from your corn. I like to do this over the sink because those silk threads get everywhere. Don’t worry if you can’t get every single thread – a few won’t hurt anything.
Pat the ears dry with paper towels, then brush them all over with olive oil or melted butter. This helps prevent sticking and promotes better browning. Season generously with salt and pepper.
Step 3: Get Your Grill Ready
Preheat your grill to medium-high heat. If you’re using a gas grill, that’s usually around 400-450°F. For charcoal, you want the coals hot enough that you can hold your hand about 6 inches above the grate for only 3-4 seconds.
Grill grate prep: Clean your grates well and oil them lightly. Corn can stick, especially if your grates aren’t clean. I use tongs to hold a paper towel dipped in oil and rub it over the grates right before adding the corn.
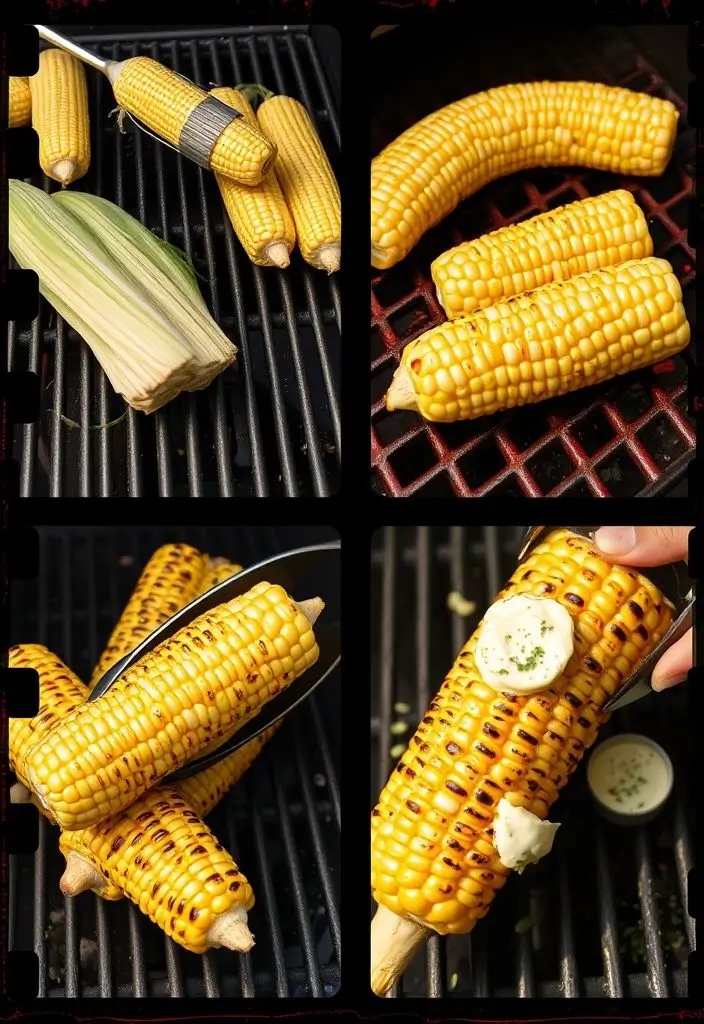
Step 4: Grill the Corn
Place the corn directly on the grill grates. Here’s where patience pays off – don’t move them around too much. Let each side get properly charred before turning.
Grill for about 12-15 minutes total, turning every 3-4 minutes to get even browning on all sides. You’re looking for those beautiful golden-brown char spots all around each ear. The kernels should look slightly caramelized and smell amazing.
Don’t panic about the char. Those dark spots aren’t burnt – they’re concentrated flavor. Some of my first attempts were too timid with the heat, and the corn was good but not great. Embrace the char.
Step 5: Butter and Serve
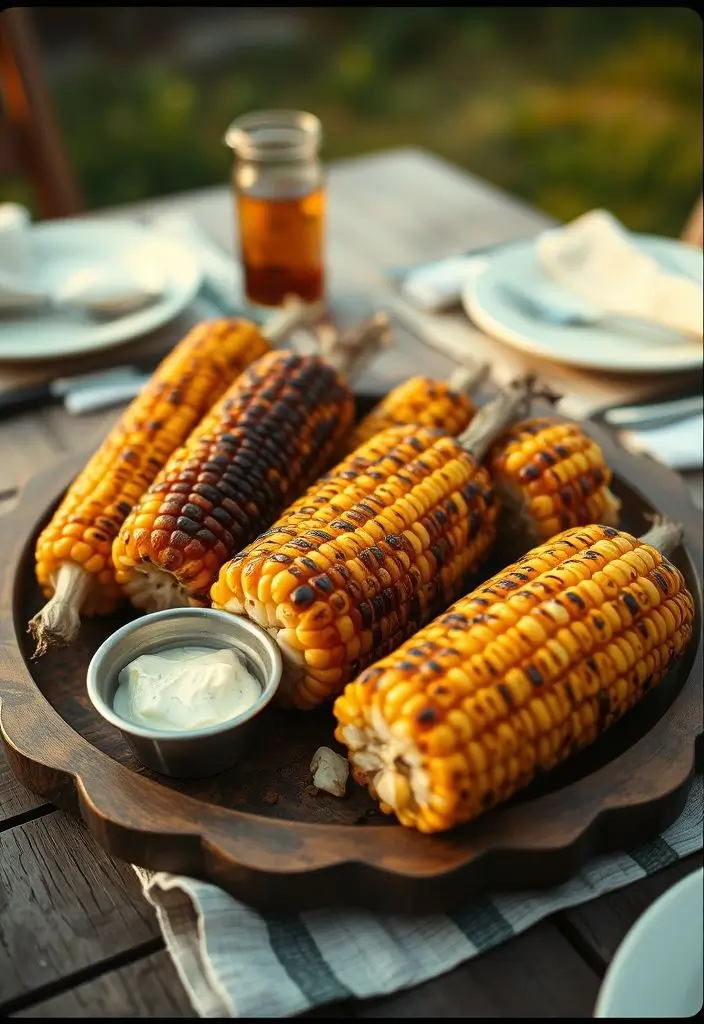
The moment the corn comes off the grill, this is when the magic happens. Slice your chilled garlic herb butter into rounds and immediately rub it all over the hot corn. The butter will melt into all those little crevices between the kernels, and the garlic will become fragrant from the heat.
Serve immediately while the butter is still melting and everything smells incredible.
Mistakes I’ve Made (So You Don’t Have To)
Overcrowding the grill. I learned this the hard way during a family barbecue. Too much corn at once means uneven cooking and lots of flipping around trying to manage everything. Work in batches if needed.
Underseasoning the corn itself. The garlic herb butter is amazing, but the corn needs its own seasoning too. Don’t skip the salt and pepper before grilling.
Making the butter too far ahead. Compound butter keeps well, but fresh herbs start to darken and lose their bright flavor after a day or two. I make mine the morning of, or the night before at most.
Not letting the grill get hot enough. Medium heat gives you steamed corn, not grilled corn. You want that sizzle when the corn hits the grates.
Serving Suggestions
This grilled corn on the cob pairs beautifully with just about any summer meal. It’s perfect alongside grilled chicken, burgers, or steak. I love it with barbecue ribs – the sweet corn balances all that smoky meat perfectly.
For a lighter meal, I’ll often make a big batch and cut the kernels off the cob to toss into salads, grain bowls, or pasta salads. That charred flavor adds so much depth to cold dishes.
Make it a meal: Cut the kernels off and mix with black beans, diced tomatoes, and avocado for an amazing summer salad. The garlic herb butter becomes the dressing.
Storage and Reheating Tips
Leftover corn: Remove kernels from the cob and store in the refrigerator for up to 4 days. The kernels reheat better than whole ears.
Extra garlic herb butter: This keeps in the fridge for up to a week, or you can freeze it for up to 3 months. It’s incredible on grilled bread, roasted vegetables, or melted over grilled fish.
Reheating whole ears: Wrap in damp paper towels and microwave for 30-45 seconds, or wrap in foil and warm on the grill for a few minutes.
Variations I Love
Mexican street corn style: Add crumbled cotija cheese, chili powder, and lime juice to your herb butter mixture.
Parmesan herb: Mix grated Parmesan into the butter along with the herbs.
Spicy version: Add minced jalapeño or a pinch of cayenne to the butter.
Smoky paprika: A teaspoon of smoked paprika in the butter gives it an incredible depth.
This grilled corn recipe has become my summer go-to, and I’m betting it’ll become yours too. There’s something so satisfying about food that tastes complicated but is actually simple – and this corn delivers every single time. The combination of that sweet, charred corn with the rich, garlicky butter is pure summer magic on a plate.