
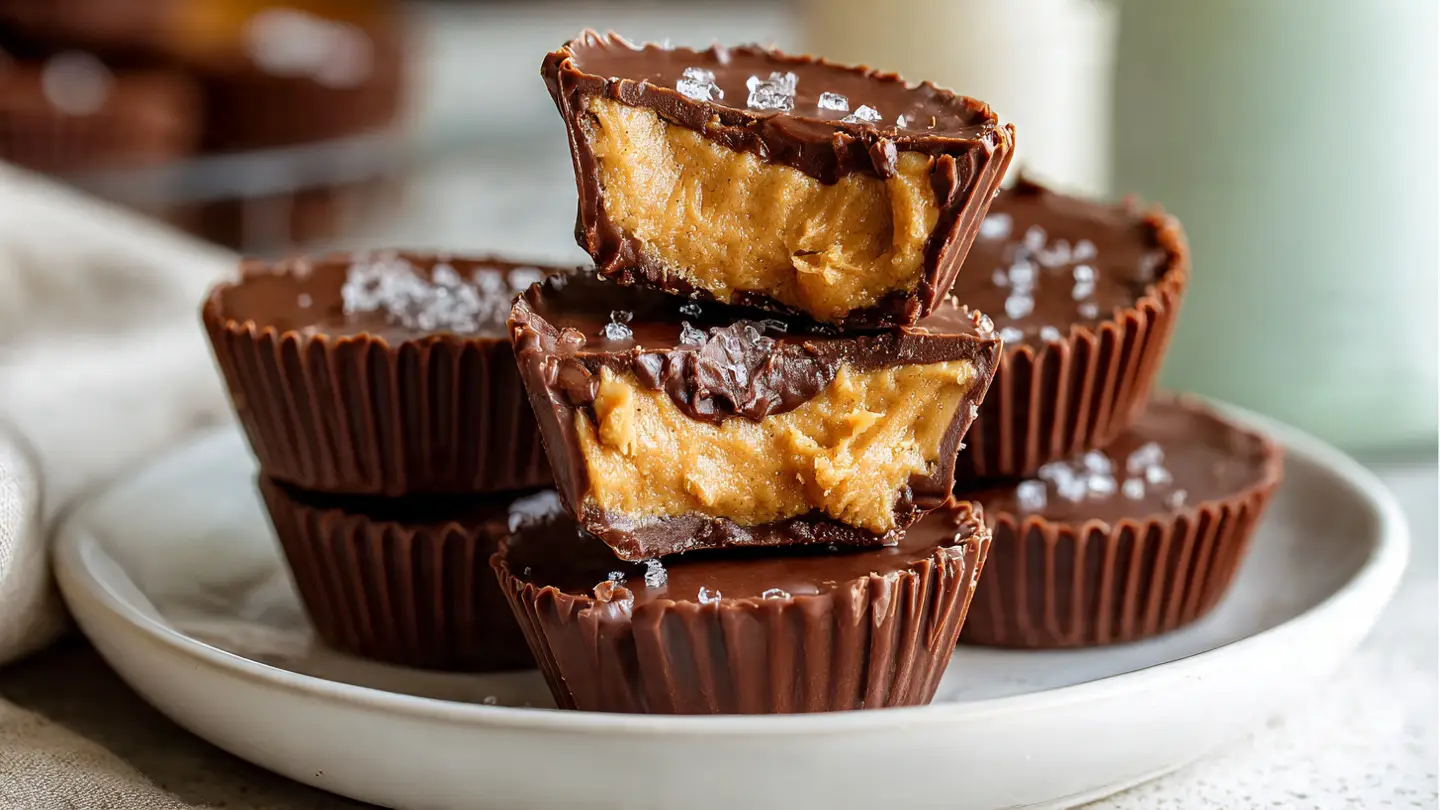
Okay, so I messed this up twice before getting it right. And honestly? I’m still shocked it worked because my first attempt looked like melted hockey pucks. But here we are.
Look, I’m gonna be honest with you—I’ve been making this homemade peanut butter cups recipe for about six months now, and people keep asking me for it. My neighbor Sarah literally knocked on my door last Tuesday just to get the instructions. Again. Because she lost the sticky note I gave her the first time.
Table of Contents :
Why Make Homemade Reeses Peanut Butter Cups?
Here’s the thing… store-bought peanut butter cups are fine. They’re good, even. But once you make them at home, you kinda can’t go back. It’s like that time I learned to make my own pizza dough and suddenly Domino’s just tasted like cardboard to me. (Sorry, Domino’s.)
Plus, you can control what goes in them. Want less sugar? Done. Need them gluten free? Easy. Trying to make homemade peanut butter cups healthy? I mean, they’re still candy, but yeah, you can make them healthier-ish.
I started making these because my 8-year-old has a thing about artificial ingredients. Don’t ask me how a second-grader even knows what “artificial” means, but apparently his friend’s mom told him stuff and now I’m reading labels like I’m studying for a test.
The Recipe for Homemade Peanut Butter Cups That Actually Works
Real talk: I’ve tried the fancy versions with oats, the protein powder ones, the vegan ones (coconut oil is your friend there), and even this weird PB2 version that honestly wasn’t bad. But this basic recipe? This is the one I keep coming back to.
It’s stupid simple. Like, embarrassingly simple. You’re gonna look at the ingredients and think “that’s it?”
Yes. That’s it.
What You Actually Need
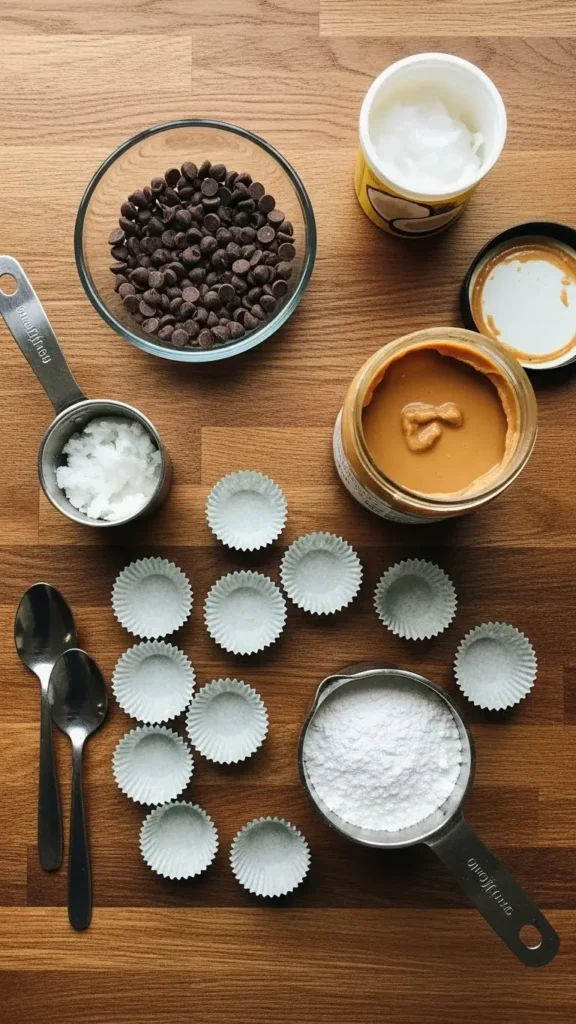
For the chocolate:
- 2 cups semi-sweet chocolate chips (I use Ghirardelli because I’m bougie like that)
- 2 tablespoons coconut oil (this is the secret—it makes them smooth)
For the peanut butter filling:
- 1 cup creamy peanut butter (use the real stuff, not the natural kind that separates)
- 1/4 cup powdered sugar
- Pinch of salt (trust me on this one)
That’s literally it. Four ingredients. FOUR.
Now, some people add graham cracker crumbs to the filling. I did that once and my husband said it tasted “too textured.” Whatever that means. So I stopped.
Oh, and if you’re making homemade peanut butter cups with oats or trying to make them sugar free, you can swap the powdered sugar for powdered monk fruit sweetener. Works fine. Tastes slightly… healthier? Is that a taste? You know what I mean.
The Instructions (Where I Failed Twice)
Step 1: Line a muffin tin with paper liners. I use the mini ones because portion control is a lie I tell myself.
Step 2: Melt half your chocolate with 1 tablespoon coconut oil. Microwave in 30-second bursts, stirring between each one. Don’t be me on attempt #1 and just blast it for 2 minutes straight. You’ll get burnt chocolate that smells like regret.
Step 3: Spoon about a tablespoon of melted chocolate into each liner. Just enough to cover the bottom. It’ll look thin and you’ll panic thinking it’s not enough. It is.
Step 4: Stick the whole tin in the freezer for 10 minutes. Set a timer. Then inevitably forget about it and remember 20 minutes later while you’re scrolling Instagram. (It’s fine if you leave them longer, actually.)
Step 5: While that’s happening, mix your peanut butter, powdered sugar, and salt. Use a fork. It’ll be thick and kinda hard to mix. Keep going. Your arm will hurt a little. This is the workout portion of baking.
Step 6: Take the tin out of the freezer. Drop a small spoonful of peanut butter mixture onto each chocolate base. Don’t spread it all the way to the edges—leave a little border. I learned this the hard way when my first batch looked like peanut butter explosions.
Step 7: Melt the rest of your chocolate with the remaining coconut oil. Cover each cup completely with chocolate. This is weirdly satisfying. Like, therapeutic.
Step 8: Freeze again for at least 30 minutes. Or until you can’t wait anymore and eat one slightly soft at minute 25. No judgment.
Tips I Learned From Screwing Up
The temperature thing: Your kitchen temperature matters. I made these in July once and they were so melty. So if it’s hot, work fast and keep everything cold. Freezer is your best friend.
The peanut butter situation: Natural peanut butter with the oil on top? Don’t use it for this. I tried because I had a jar and thought “how different could it be?” Very different. It separated weird and made the filling oily. Just use Skippy or Jif like a normal person.
The chocolate quality: Cheap chocolate chips work fine, but they don’t taste as good. I know that’s obvious, but sometimes you need someone to tell you it’s worth spending an extra $2 on better chocolate.
Storage: Keep these in the fridge. Room temperature turns them into a melty mess. I found out by leaving some on the counter for my kid’s lunchbox and coming back to find chocolate puddles. Fun times.
Making This Recipe Your Own
Want to make homemade peanut butter cups vegan? Use dairy-free chocolate chips (Enjoy Life brand is good) and make sure your peanut butter doesn’t have honey.
Need them gluten free? They already are! Unless you add those graham crackers I mentioned, then use gluten-free ones.
Trying the protein version? Add a scoop of chocolate protein powder to the peanut butter mixture. Makes them taste slightly chalky but hey, gains.
For homemade peanut butter cups for Christmas, add crushed candy canes on top before the final freeze. Looks fancy. Tastes like Christmas threw up on chocolate. In a good way.
Why This Recipe Works (Even Though I’m Not a Food Scientist)
The coconut oil is key. It makes the chocolate thinner so it’s easier to work with, and it gives that nice snap when you bite into them. Like the real Reese’s. Kind of.
The freezer method keeps everything firm while you work. Room temperature = disaster. Cold = success. Very scientific.
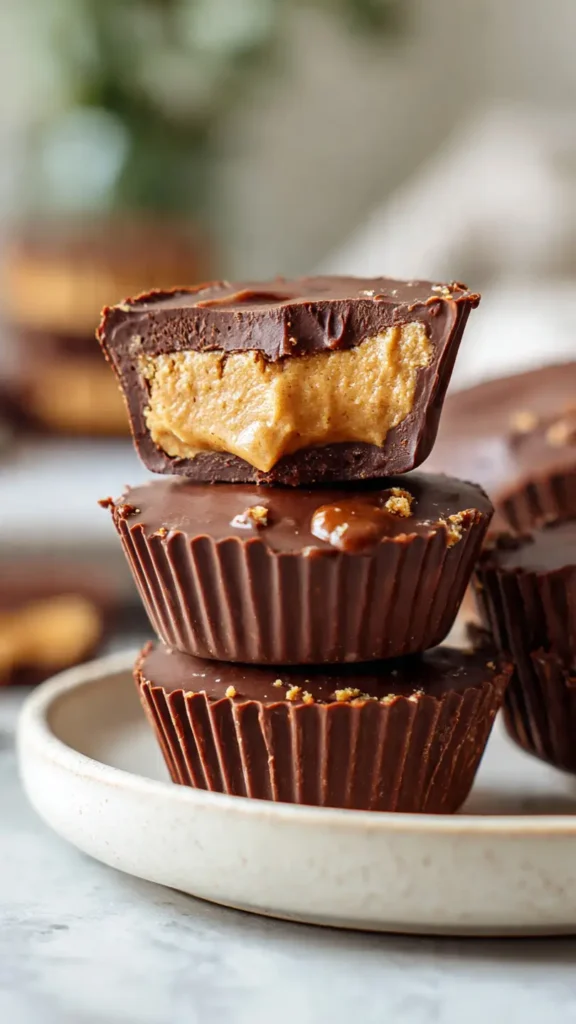
And honestly? The homemade peanut butter cups recipe is just… better? You can actually taste the peanut butter. Store-bought ones have gotten smaller over the years (don’t even get me started on shrinkflation), and the peanut butter filling tastes more like sugar than peanuts.
These? These taste like actual peanut butter wrapped in actual chocolate. Revolutionary concept, I know.
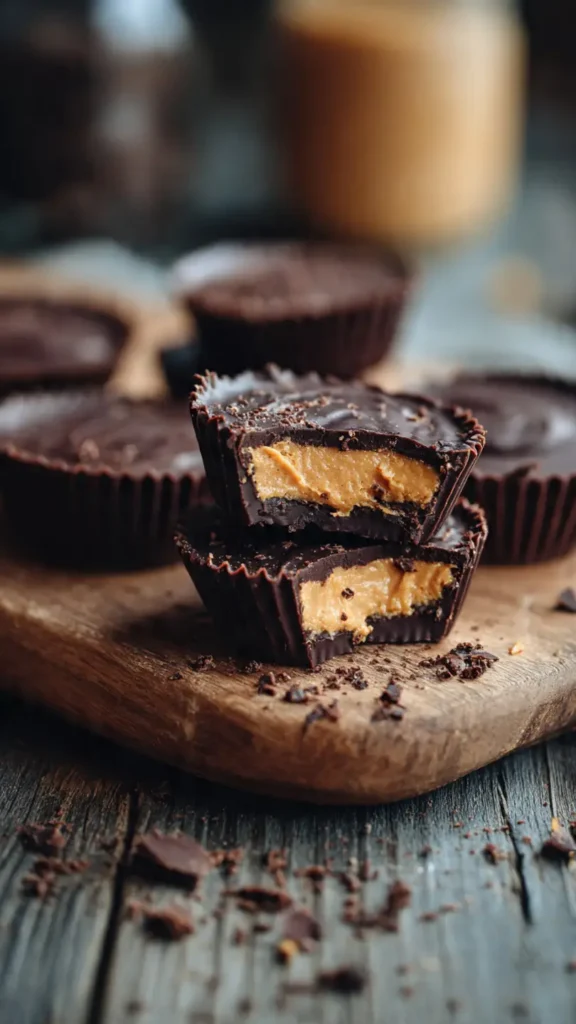
My Final Thoughts (And Why You Should Try This)
I’m not gonna lie and say these are healthy. They’re candy. Delicious, homemade, “I can’t believe I made these myself” candy. But at least you know what’s in them.
My kids eat them straight from the freezer because they like them super cold. I eat them slightly thawed because I’m weird about food textures. My husband eats them any way he can get them before I hide the container.
Make a batch. Keep them in a container in the back of the fridge behind the yogurt no one eats. Pull them out when you need chocolate. Or when it’s Tuesday. Whatever.
If I can make these without burning down my kitchen (twice), you definitely can.
Let me know how yours turn out! Seriously, tag me or comment or just tell your neighbor about them. I want everyone to know about this recipe for homemade peanut butter cups because it’s too good not to share.
Happy cooking! (And may your chocolate never seize up)
The Only Homemade Peanut Butter Cups Recipe You Need
Easy 4-ingredient homemade peanut butter cups recipe that tastes better than store-bought. Customizable, gluten-free, and perfect for satisfying chocolate cravings.
Ingredients
- 2 cups semi-sweet chocolate chips
- 2 tablespoons coconut oil, divided
- 1 cup creamy peanut butter
- 1/4 cup powdered sugar
- Pinch of salt
Instructions
- Step 1Line a mini muffin tin with paper liners.
- Step 2Melt 1 cup chocolate chips with 1 tablespoon coconut oil in microwave in 30-second bursts, stirring between each burst until smooth.
- Step 3Spoon about 1 tablespoon of melted chocolate into each liner, just enough to cover the bottom.
- Step 4Place muffin tin in freezer for 10 minutes until chocolate is firm.
- Step 5Mix peanut butter, powdered sugar, and salt with a fork until well combined and thick.
- Step 6Remove tin from freezer and drop a small spoonful of peanut butter mixture onto each chocolate base, leaving a border around the edges.
- Step 7Melt remaining 1 cup chocolate chips with 1 tablespoon coconut oil in microwave in 30-second bursts until smooth.
- Step 8Spoon melted chocolate over each peanut butter layer, covering completely.
- Step 9Freeze for at least 30 minutes until completely firm. Store in refrigerator in an airtight container.