
The Best Kielbasa Sausage Recipe That’ll Make Your Kitchen Smell Like Heaven
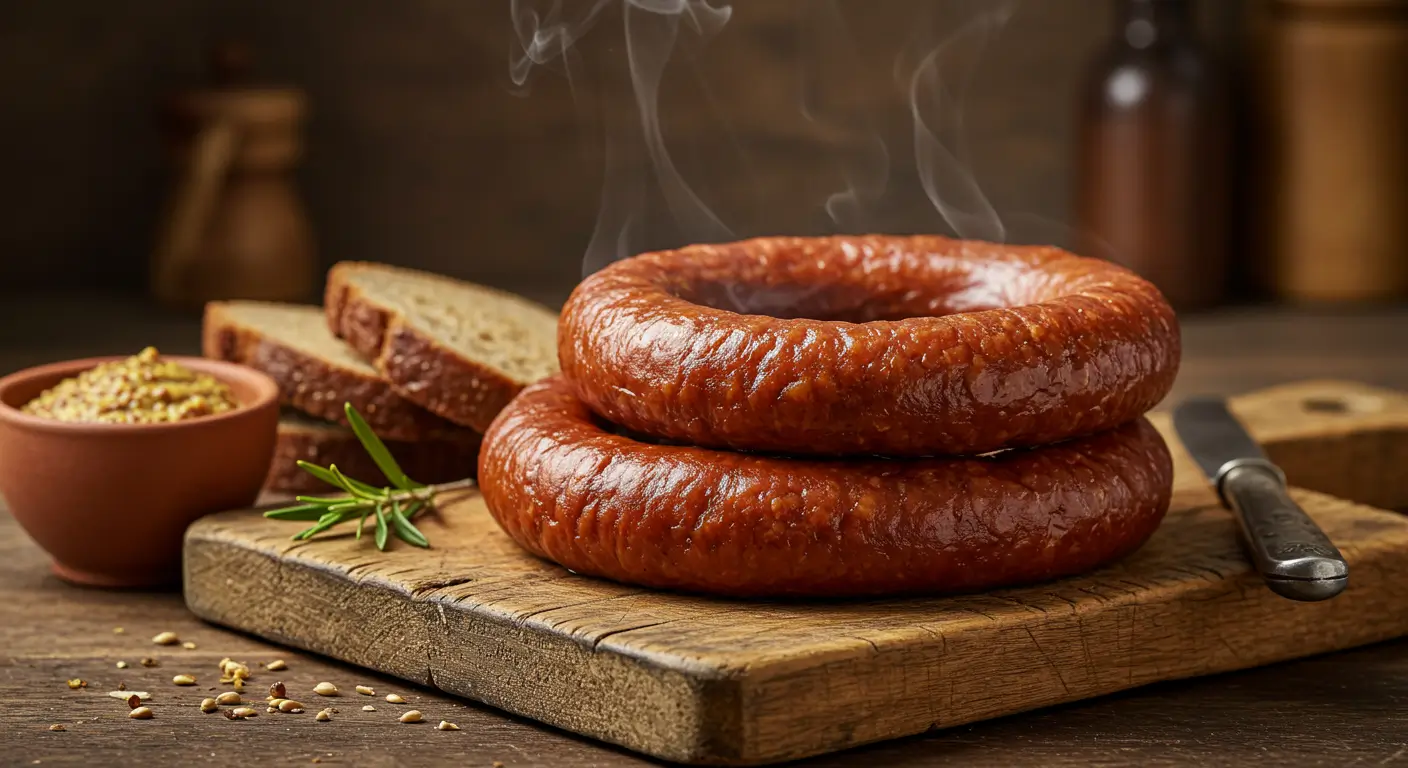
Picture this: you walk into your kitchen and it smells like your Polish grandmother’s house on Sunday morning. That smoky, garlicky, absolutely irresistible aroma that makes your mouth water before you even see the food. That’s exactly what happens when you make homemade kielbasa sausage the right way.
I’ll be honest with you – I used to be one of those people who bought kielbasa from the grocery store without thinking twice about it. But after my neighbor Mrs. Kowalski (yes, that’s her real name) taught me her family’s 100-year-old recipe, I haven’t looked back since. The difference between store-bought and homemade kielbasa is like comparing a microwave dinner to a five-star restaurant meal.
So why should you bother making your own kielbasa when you can just grab a package from the deli section? Well, first off, you get to control every single ingredient that goes into your sausage. No mysterious preservatives, no fillers, just pure, delicious meat and spices. Plus, there’s something deeply satisfying about creating something from scratch that’s been bringing families together for generations.
Table of Contents :
What Makes Kielbasa So Special?
Before we dive into the nitty-gritty of making this Polish masterpiece, let’s talk about what makes kielbasa different from your average sausage. Traditional kielbasa (which literally means “sausage” in Polish, FYI) is typically made with coarsely ground pork, beef, or a combination of both, seasoned with garlic, marjoram, and other aromatic spices.
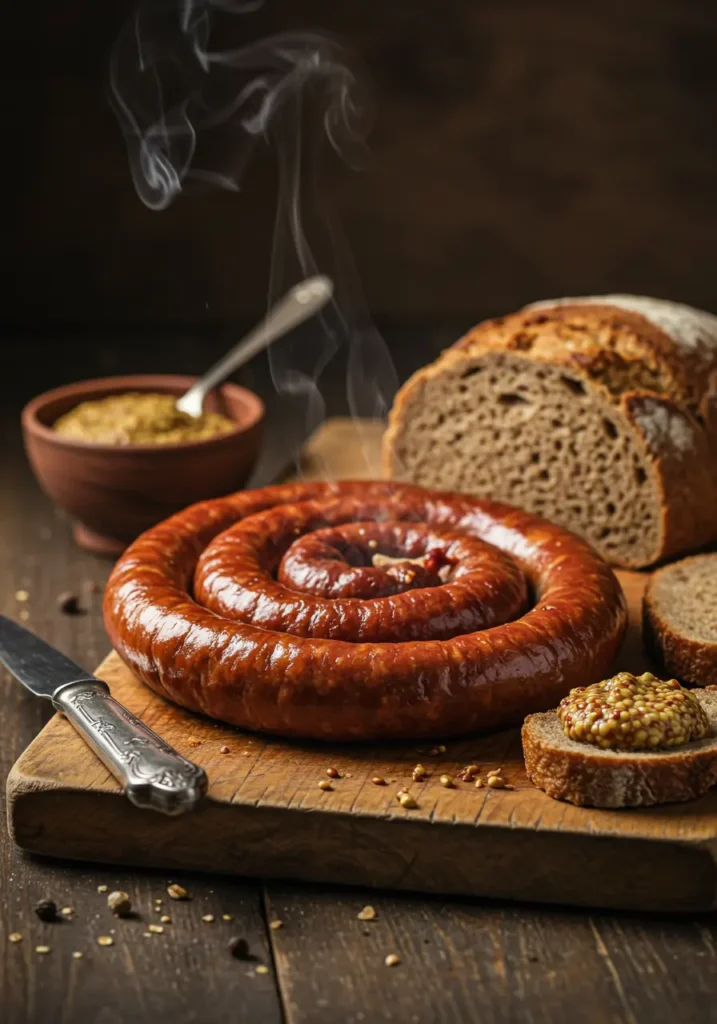
The magic happens in the smoking process. Real kielbasa gets its distinctive flavor from being slow-smoked over hardwood, which gives it that deep, complex taste that makes your taste buds do a happy dance. But don’t worry – we’ll show you how to achieve incredible results even if you don’t have a fancy smoker.
Essential Ingredients for Perfect Kielbasa
Here’s what you’ll need to create kielbasa that would make any Polish grandmother proud:
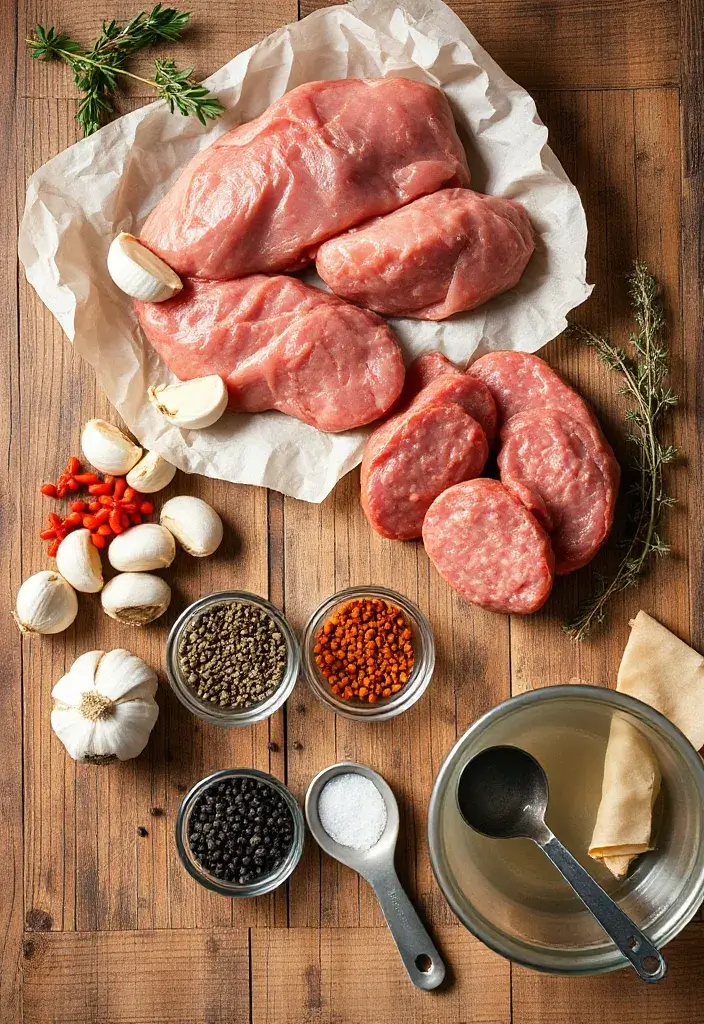
The Meat Foundation
- 3 lbs pork shoulder (80/20 fat ratio is ideal)
- 2 lbs beef chuck roast (adds depth and texture)
The Flavor Profile
- 6 cloves fresh garlic, minced (don’t even think about using powder)
- 2 tablespoons sweet paprika (Hungarian if you can find it)
- 1 tablespoon dried marjoram (the secret weapon)
- 2 teaspoons black pepper, freshly ground
- 2 teaspoons kosher salt
- 1 teaspoon caraway seeds, lightly crushed
- 1/2 teaspoon cayenne pepper (optional, for those who like a kick)
The Binding Elements
- 1/4 cup ice-cold water
- Natural hog casings (about 10 feet)
Trust me on the marjoram – it’s what separates authentic kielbasa from just another sausage. I learned this the hard way when I tried to substitute it with oregano once. The result was… well, let’s just say it wasn’t kielbasa.
Step-by-Step Kielbasa Making Process
Preparation Phase (The Foundation)
First things first – chill everything. I mean everything. Your meat grinder, your bowls, even your hands if you can manage it. Cold is your friend when making sausage because it keeps the fat from smearing and ensures you get that perfect texture.
Cut your pork and beef into chunks that’ll fit through your grinder. I like to keep them about 2-inch pieces. While you’re at it, soak your casings in warm water for about 30 minutes to soften them up.
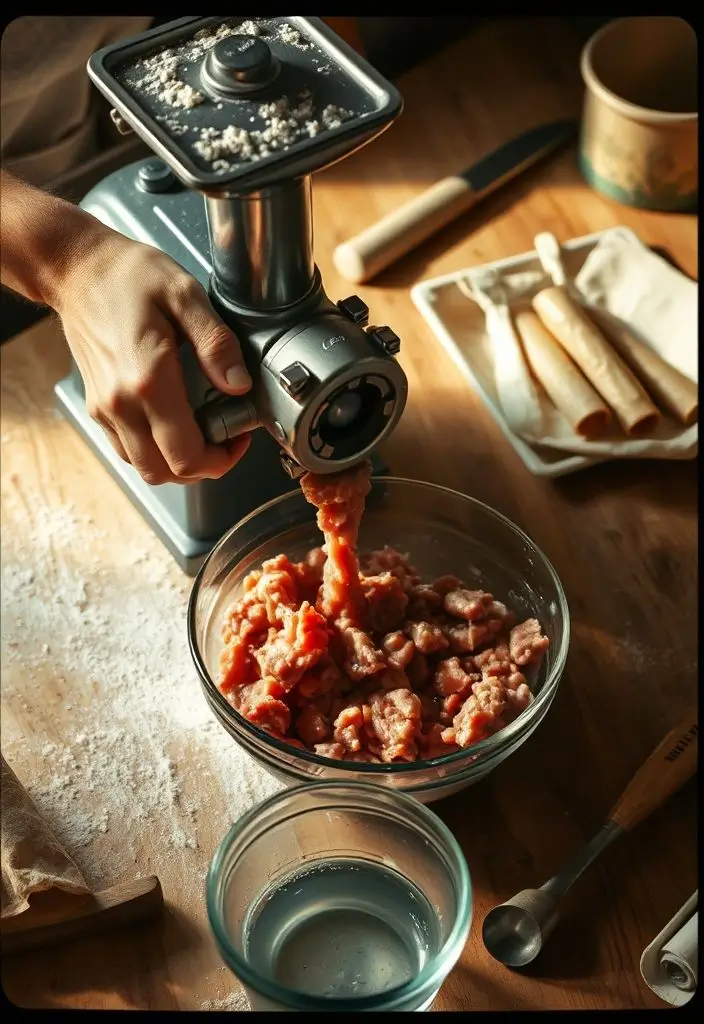
The Grinding Game
Here’s where things get interesting. You want to grind your meat through a coarse plate first – we’re talking about 3/8-inch holes. This isn’t the time for fine grinding; we want some texture in our kielbasa.
Pro tip: alternate between pork and beef as you feed it through the grinder. This helps distribute the flavors more evenly throughout the mixture.
Seasoning Like a Pro
Now comes the fun part – adding all those beautiful spices. Sprinkle your garlic, paprika, marjoram, salt, pepper, and caraway seeds over the ground meat. Don’t just dump it all in one spot; spread it around like you’re seasoning a giant steak.
Add that ice-cold water gradually while you mix. The water helps the proteins bind together and creates that perfect sausage texture. Mix with your hands (cold hands, remember?) for about 2-3 minutes until everything is well combined and the mixture feels slightly sticky.
The Casing Challenge
Threading casings onto your sausage stuffer can be tricky the first few times. Here’s my foolproof method: wet the casing and your stuffer tube with cold water. This prevents tearing and makes everything slide smoothly.
Fill your casings slowly and steadily. You want them firm but not bursting – think of a well-filled balloon, not a balloon about to pop. Leave about 4 inches of casing at each end for tying.
Linking Your Sausages
Twist your filled casing every 6-8 inches to create individual sausages. I like to twist in alternating directions to prevent them from unwinding. Don’t make them too tight – the sausages will expand slightly during cooking.
Cooking Methods That Actually Work
The Traditional Smoking Method
If you’ve got a smoker, you’re in for a treat. Set it to 225°F and use oak or hickory wood chips. Smoke your kielbasa for about 2-3 hours until the internal temperature reaches 160°F. The sausages should have a beautiful mahogany color and smell absolutely incredible.
Oven-Smoking Alternative
Don’t have a smoker? No problem. You can create a smoky flavor using your oven and some liquid smoke. Brush your kielbasa with a mixture of liquid smoke and water (1:3 ratio), then bake at 275°F for about 45 minutes.
Pan-Searing for Quick Results
When you’re in a hurry, pan-searing works beautifully. Heat a cast-iron skillet over medium heat, add a little oil, and brown your kielbasa on all sides. This takes about 12-15 minutes and gives you a nice crispy exterior.
Flavor Variations to Keep Things Interesting
Spicy Jalapeño Kielbasa
Add 2-3 finely diced jalapeños and an extra teaspoon of cayenne pepper to your spice mix. This version is perfect for those who like their sausage with some heat.
Cheese-Stuffed Kielbasa
Incorporate 1 cup of cubed sharp cheddar into your meat mixture. The cheese melts during cooking, creating pockets of creamy goodness throughout the sausage.
Beer-Braised Kielbasa
After smoking or baking, finish your kielbasa in a Dutch oven with 2 bottles of dark beer, sliced onions, and sauerkraut. Let it simmer for 30 minutes for incredible flavor depth.
Storage and Serving Suggestions
Proper Storage Techniques
Fresh kielbasa keeps in the refrigerator for up to 5 days or in the freezer for up to 3 months. Wrap individual portions in freezer paper or vacuum-seal them for best results.
Serving Ideas That’ll Impress
- Slice and serve with mustard and fresh rye bread
- Add to pierogi and sauerkraut for a complete Polish feast
- Dice and use in breakfast hash with potatoes and peppers
- Grill whole sausages for summer barbecues
Troubleshooting Common Issues
Problem: Sausages Burst During Cooking
Solution: You probably stuffed them too tightly. Next time, leave more room for expansion and prick any air bubbles with a needle before cooking.
Problem: Dry, Crumbly Texture
Solution: Your meat might have been too lean or you didn’t add enough cold water. Aim for that 80/20 fat ratio and don’t skip the binding liquid.
Problem: Bland Flavor
Solution: Don’t be shy with the seasonings, especially the garlic and marjoram. Remember, you’re seasoning 5 pounds of meat – it needs bold flavors to shine through.
Why Homemade Beats Store-Bought Every Time
Making your own kielbasa isn’t just about the superior taste (though that’s a huge part of it). It’s about connecting with a tradition that spans generations, knowing exactly what goes into your food, and having the satisfaction of creating something truly special with your own hands.
Store-bought kielbasa often contains fillers, preservatives, and artificial flavors that just can’t compete with the real deal. When you make it yourself, you get pure, honest flavor that tastes like food should taste.
Plus, let’s be real – there’s something incredibly satisfying about telling people you made your own sausage. It’s like having a culinary superpower that most people don’t possess.
Final Thoughts: Your Kielbasa Journey Starts Now
Making authentic kielbasa might seem intimidating at first, but trust me, once you get the hang of it, you’ll wonder why you ever bought it from the store. The process is surprisingly straightforward, and the results are absolutely worth the effort.
Start with this basic recipe, then experiment with your own variations once you’ve mastered the fundamentals. Maybe add some fennel seeds for an Italian twist, or throw in some dried chilies for heat. The beauty of making your own sausage is that you’re in complete control of the flavor profile.
IMO, there’s nothing quite like the smell of homemade kielbasa filling your kitchen. It’s comfort food at its finest, and once you taste the difference, you’ll be hooked for life. So grab your apron, fire up that grinder, and get ready to create some serious sausage magic in your own kitchen.
Your taste buds (and your dinner guests) will thank you later.