
Ever find yourself staring at a bundle of vibrant, crimson rhubarb stalks at the farmer’s market, a sense of both excitement and mild panic washing over you? You’re not alone. For years, I did the same thing. I’d buy it, full of ambitious dessert dreams, only to let it wilt sadly in the back of my fridge, a testament to my good intentions. But what if I told you there’s a recipe so simple, so ridiculously delicious, that it will forever cure you of your rhubarb-phobia?
Welcome, my friend, to what I can confidently call the best rhubarb crisp recipe on the internet. And trust me, after more than a decade of blogging, I’ve seen (and baked) my fair share of duds. This isn’t one of them. This is the recipe that my family begs for the second those beautiful stalks appear. It’s the one my friends subtly hint about when they invite themselves over for “coffee.” It’s a game-changer.
So, grab your apron and a beverage of your choice. We’re about to turn that beautiful, tart vegetable (yes, it’s technically a vegetable!) into a dessert that will have you singing its praises.
Table of Contents :
Why This is a Recipe You’ll Actually Make
Let’s be real for a second. There are thousands of rhubarb crisp recipes out there. Some have mile-long ingredient lists, others require complicated techniques that make you feel like you need a culinary degree. Not this one. This recipe is for us—the home bakers who want maximum flavor with minimal fuss.
What makes it so special? It all comes down to the perfect ratio. We’re talking about a symphony of textures and flavors:
- The Filling: A glorious, jammy sea of tart rhubarb, sweetened just enough to tame its wild side, but not so much that you lose that signature zing. It’s bright, it’s bold, and it’s the heart of our crisp.
- The Topping: Oh, the topping. It’s not just an afterthought; it’s the crunchy, buttery, oat-filled crown our rhubarb deserves. We’re aiming for that perfect middle ground—crispy on top, slightly chewy underneath, with clusters that are basically begging to be picked off and eaten while it cools. You know you do it too.
I’ve tweaked this recipe more times than I can count. I’ve experimented with different sugars, played with the oat-to-flour ratio, and debated the merits of various spices. This final version? It’s pure, unadulterated perfection. IMO, it’s the only one you’ll ever need.
The Eternal Rhubarb Debate: To Peel or Not to Peel?
Before we dive into the nitty-gritty, let’s address the elephant in the room. Do you need to peel your rhubarb? The short answer is a resounding NO. Please, for the love of all that is holy, put down the vegetable peeler.
Rhubarb skin contains a ton of flavor and, more importantly, that beautiful ruby color. Peeling it is a tedious, unnecessary step that robs you of both. The skin softens completely as it bakes, melting right into the filling. The only time you might consider peeling is if you have exceptionally thick, woody stalks from late in the season, but even then, I’d only peel the toughest parts. For most early-season to mid-season rhubarb, leaving the skin on is the way to go. Consider this myth officially busted.
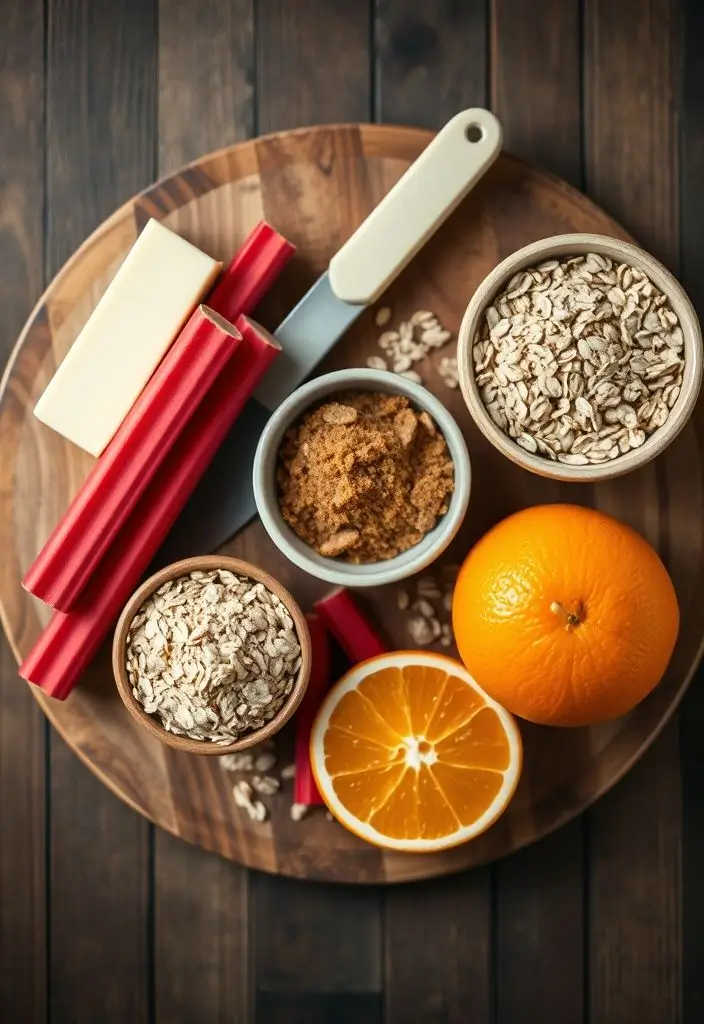
Let’s Talk Ingredients
You’ll notice the ingredient list isn’t intimidating. We’re using pantry staples to create something truly magical. No frantic trips to a specialty store required.
For the Glorious Rhubarb Filling:
- Fresh Rhubarb: You’ll want about 6 cups of chopped rhubarb, which is roughly 1.5 pounds (or about 700g). Look for firm, crisp stalks. The redder, the better, for that lovely color!
- Granulated Sugar: This is our primary sweetener. We’re using 1 cup, but you can adjust this slightly depending on how tart your rhubarb is and your personal preference.
- Cornstarch: My secret weapon for a perfect filling. 2 tablespoons of cornstarch will thicken the juices just enough, preventing a soupy mess without making it gummy. Some recipes use flour, but cornstarch gives a much cleaner, glossier result.
- Orange Zest & Juice: This is a non-negotiable for me. The zest of one orange and a tablespoon of its juice adds a bright, floral note that beautifully complements the rhubarb. It’s a subtle touch that makes a world of difference.
- Vanilla Extract: A teaspoon of pure vanilla extract adds warmth and depth, rounding out the flavors.
For That Irresistible Crisp Topping:
- All-Purpose Flour: The structural base of our topping. We’ll use 1 cup.
- Rolled Oats: For that classic, chewy texture. Use 1 cup of old-fashioned rolled oats, not the instant kind. The larger flakes hold their shape better.
- Brown Sugar: 1 cup of packed light brown sugar provides a deep, molasses-y sweetness and contributes to the crispness.
- Ground Cinnamon: Just a teaspoon adds a touch of warmth and spice that pairs wonderfully with rhubarb.
- A Pinch of Salt: Never underestimate the power of salt in a sweet recipe! A generous pinch (about ½ teaspoon) balances the sweetness and makes all the other flavors pop.
- Cold Unsalted Butter: This is key. You need 1/2 cup (1 stick or 113g) of cold butter, cut into small cubes. The cold butter creates steam pockets as it melts, resulting in a lighter, crispier topping.
The Step-by-Step Guide to Rhubarb Nirvana
Ready to make some magic? Let’s walk through it together. It’s easier than you think.
Step 1: Prep Your Station
First things first, preheat your oven to 375°F (190°C). Grab a 9×13 inch baking dish (or a similar 3-quart dish). You don’t need to grease it; the rhubarb has plenty of its own juice.
Wash your rhubarb stalks well and pat them dry. Trim off any leaves (they are poisonous, so discard them properly!) and the tough, woody ends. Chop the stalks into uniform ½ to ¾-inch pieces.
Step 2: Mix the Filling
In a large bowl, combine your chopped rhubarb, granulated sugar, cornstarch, and the orange zest. Give it a good toss to make sure the rhubarb is evenly coated. Let it sit for about 15 minutes while you prepare the topping. This little rest is important—it gives the sugar time to start drawing out the juices from the rhubarb, a process called maceration. See? Science! After it has rested, stir in the orange juice and vanilla extract. Pour this glorious mixture into your baking dish and spread it out evenly.
Step 3: Create the Topping
Now for the fun part. In a separate bowl (I know, another dish to wash, but it’s worth it), whisk together the all-purpose flour, rolled oats, brown sugar, cinnamon, and salt.
Next, add your cold, cubed butter to the dry ingredients. Now, you have a few options for incorporating it. You can use a pastry blender, two knives, or my personal favorite method: your hands. Work the butter into the flour mixture by rubbing it between your fingertips until it resembles coarse crumbs with some pea-sized chunks of butter remaining. Don’t overwork it! Those little butter pockets are your friends.
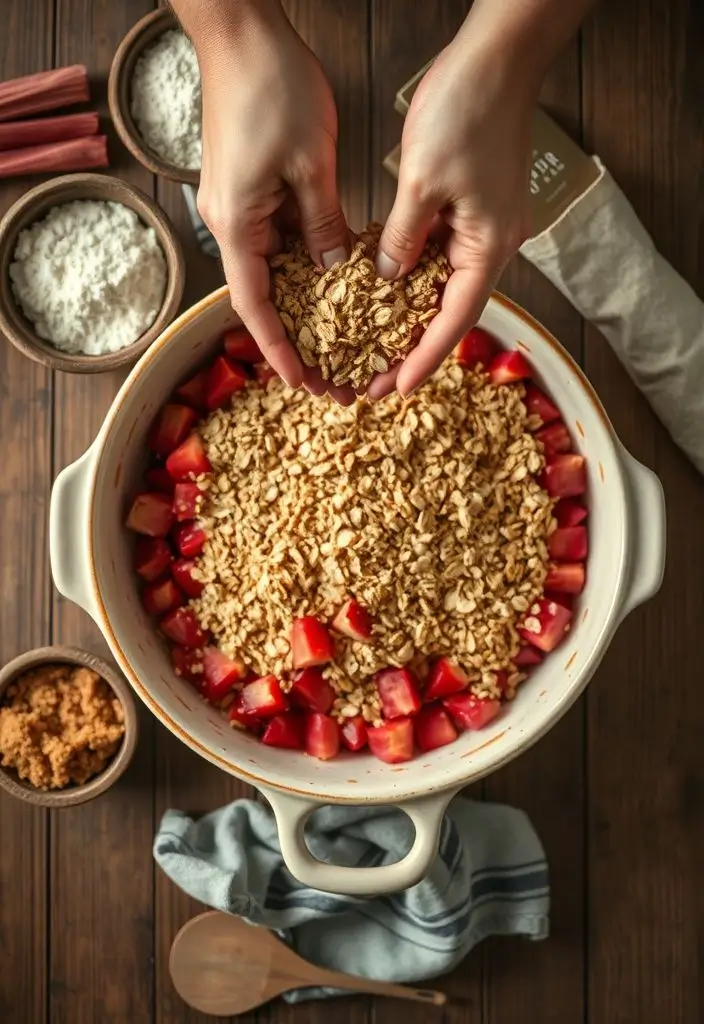
Step 4: Assemble and Bake
Sprinkle the topping evenly over the rhubarb filling in the baking dish. Don’t pack it down; keep it light and crumbly.
Place the dish on a baking sheet to catch any potential bubble-overs (a lesson I learned the hard way—trust me on this). Bake for 40 to 50 minutes, or until the fruit filling is bubbly and thick, and the topping is a beautiful golden brown. Your kitchen is about to smell absolutely divine.
Step 5: The Hardest Part – Patience
Once it’s out of the oven, you have to let it cool for at least 20-30 minutes. I know, this is pure torture. The aroma will be calling to you. But allowing it to rest lets the filling set up properly. If you dive in right away, you’ll have a soupy (albeit delicious) mess. This resting period transforms it from a hot fruit puddle into a perfectly jammy, scoopable crisp.
Pro Tips & Tricks from a Decade of Crisp-Making
Over the years, I’ve picked up a few tricks that take this recipe from great to absolutely foolproof.
- Frozen Rhubarb Works Too! Can’t find fresh rhubarb? No problem. You can use frozen. Just don’t thaw it first. Add it to the filling mixture while still frozen and add about 10-15 minutes to the baking time. You might also want to add an extra teaspoon of cornstarch to handle the extra moisture.
- Go Nuts: Feel free to add about ½ cup of chopped pecans or walnuts to the topping for extra crunch and a nutty flavor. It’s a fantastic addition.
- Spice It Up: If you’re a fan of ginger, add ½ teaspoon of ground ginger to the filling along with the orange zest. Rhubarb and ginger are a match made in heaven.
- Make-Ahead Magic: You can assemble the entire crisp a day in advance. Prepare the filling and topping, but store them in separate airtight containers in the fridge. When you’re ready to bake, pour the filling into the dish, sprinkle on the topping, and bake as directed. FYI, this is a lifesaver for dinner parties.
How to Serve Your Masterpiece
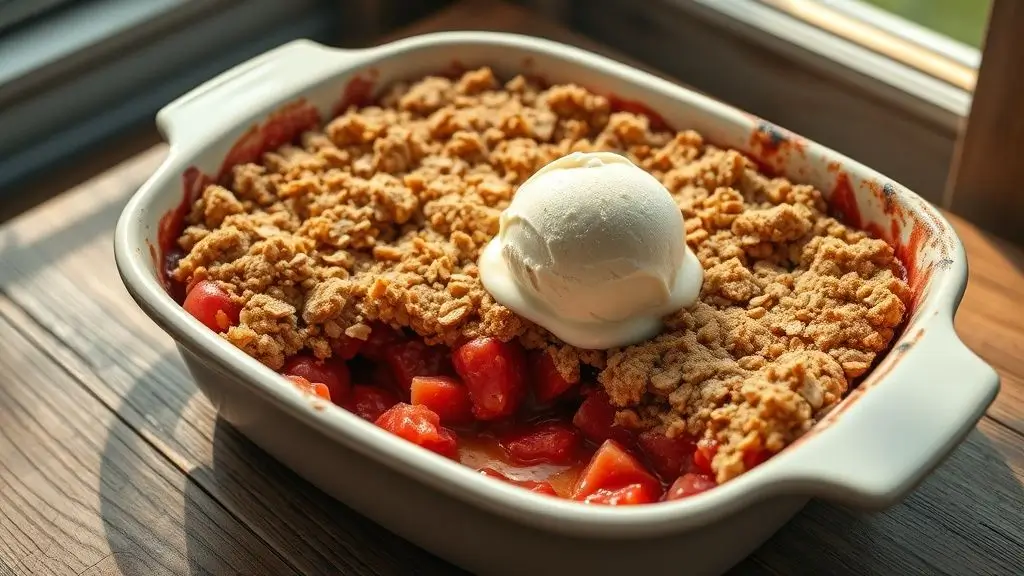
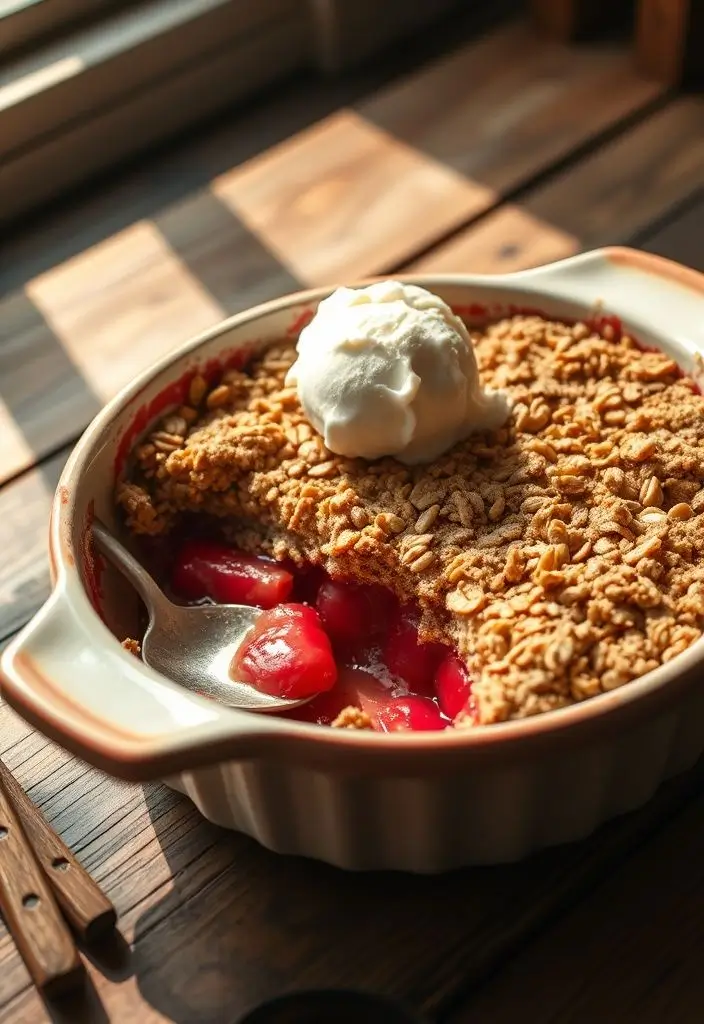
The classic way to serve any crisp is warm, with a generous scoop of vanilla ice cream melting into all the nooks and crannies. The contrast of the warm, tart crisp with the cold, creamy ice cream is simply iconic.
Not an ice cream fan? A dollop of freshly whipped cream or a drizzle of heavy cream also works beautifully. Honestly, I’ve been known to eat the leftovers cold, straight from the fridge with a spoon for breakfast. Don’t judge. It has fruit and oats, so it’s basically just fancy oatmeal, right?
Wrapping It All Up
So there you have it. My not-so-secret, endlessly adaptable, and genuinely the best rhubarb crisp recipe I know. It’s more than just a dessert; it’s a celebration of spring, a comforting hug in a bowl, and a foolproof way to impress anyone you share it with.
It proves that you don’t need complicated steps or fancy ingredients to create something truly spectacular. You just need good ingredients, a solid technique, and a little bit of patience (especially during that crucial cooling period).
So next time you see that vibrant rhubarb, don’t walk past. Grab a bundle, head home, and fill your kitchen with the incredible aroma of this crisp. I promise, you won’t regret it. Now go forth and bake!